

Heracross crochet pattern
Heracross is the only bug pokemon that I actually like. This pattern legitimately took me THREE YEARS to figure out. Not three years straight, but three years on&off.
There’s a lot of odd shapes, what feels like a million pieces, etc. Every time I’ve started it, I just didn’t really have the patience to finish it. Which brings us to my next point: old patterns.
I’ve wrote this before, but I’m not sure how many people have actually read through my website/FAQ. I took old patterns down for a reason. A lot of the stuff I made when I first started out was probably honestly far too advanced… okay, it just WAS far too advanced. None of it was suitable for beginners. AND tTHEN covid hit - a lot of people looked for a hobby or something to do, which is completely understandable. It was pretty boring being trapped inside.
Anyway, I ended up with beginners buying more advanced patterns & basically needing me to walk them through it. This is my job - I get that the odd question is definitely part of it & I love being able to help people & have them figure it out/finish their project - BUT having to walk people through entire patterns isn’t ideal. It’s not only time consuming, but it also pulls me away from whatever I’m currently working on. On top of that, I’ve not had the greatest health (DUB), so like working on patterns or items by itself is draining.
Long story short, I really do not have any plans to relist them. They were way too hard.
Speaking of DUB - I wrote about it earlier this week. Might as well ramble about it a bit more.
DUB = dysfunctional uterine bleeding. It’s painful & exhausting to live with. I get two week long periods about 12 days apart with horrible cramps & very heavy bleeding. It’s made pretty well every aspect of my life hard. I’m bedridden more often than not, which isn’t ideal when you’re 31.
I’m by no means against vaccines, far from an anti-vaxxer or any kind of “conspiracy theorist” (except aliens and maybe WEF), but this issue largely started after I got the first Moderna vaccine. I got the second shot, which only seemed to have made the problem worse. Then a bunch of news articles started to come out about women suffering from similar issues. I finally decided to talk to my doctor about it (because the problem wasn’t resolving on its own) & got referred to a specialist.
To be clear here, I thought I was completely alone in this. It’s been “reassuring” in a sense to talk to other women who’ve had similar issues - definitely makes me feel less crazy.
Anyway, earlier this week, I was finally able to see the specialist. I was put on medication that will hopefully help, but it’s not been fun to start. Lots of nausea, headache, pains. I’m really trying to stay optimistic that it will eventually help. On top of this, I need to try to restore iron levels again. They’ve obviously taken quite a hit from that.
Tools&materials
-Yarn: *less than one skein/size 4/worsted weight yarn* Bernat Premium “Botany Teal” or Bernat Super Value “Magenta”
Vanna’s Choice “White”
-Crochet hooks size G/4mm & E/3.5mm
-Scissors, sewing needle, stitch marker & pins
-Felt: black, white & yellow
-A small amount of black embroidery floss or any brand size 3 black yarn
-Stuffing
-Fabric glue
-Two pipe cleaners
Abbreviations
Slst – slip stitch
Sc – single crochet
Hdc – half double crochet
Dc – double crochet
Inc – increase (2 single crochet stitches in one stitch)
Dec- decrease
Ch – chain, followed by a number indicating the number of chains to make
Notes
Gauge – 4 sc x 5 rounds = one inch with G/4mm crochet hook
Finished size = 8~ inches tall x 8 inches wide x 5 inches long
Like all amigurumi, gauge doesn’t matter. Just make sure your stitches are tight/consistent.
PLEASE read through the pattern & links to tutorials provided to make sure that you understand how to go make it BEFORE starting it.
This pattern has been checked over THOROUGHLY - there are NO errors in it. Since it is free, I won’t be here to help if you get stuck. All the info is already here, so PLEASE be sure to read through it carefully!
This pattern is NOT suitable for beginners - though it MAY be able to be made by more “advanced” beginners, or those who are well versed at reading patterns.
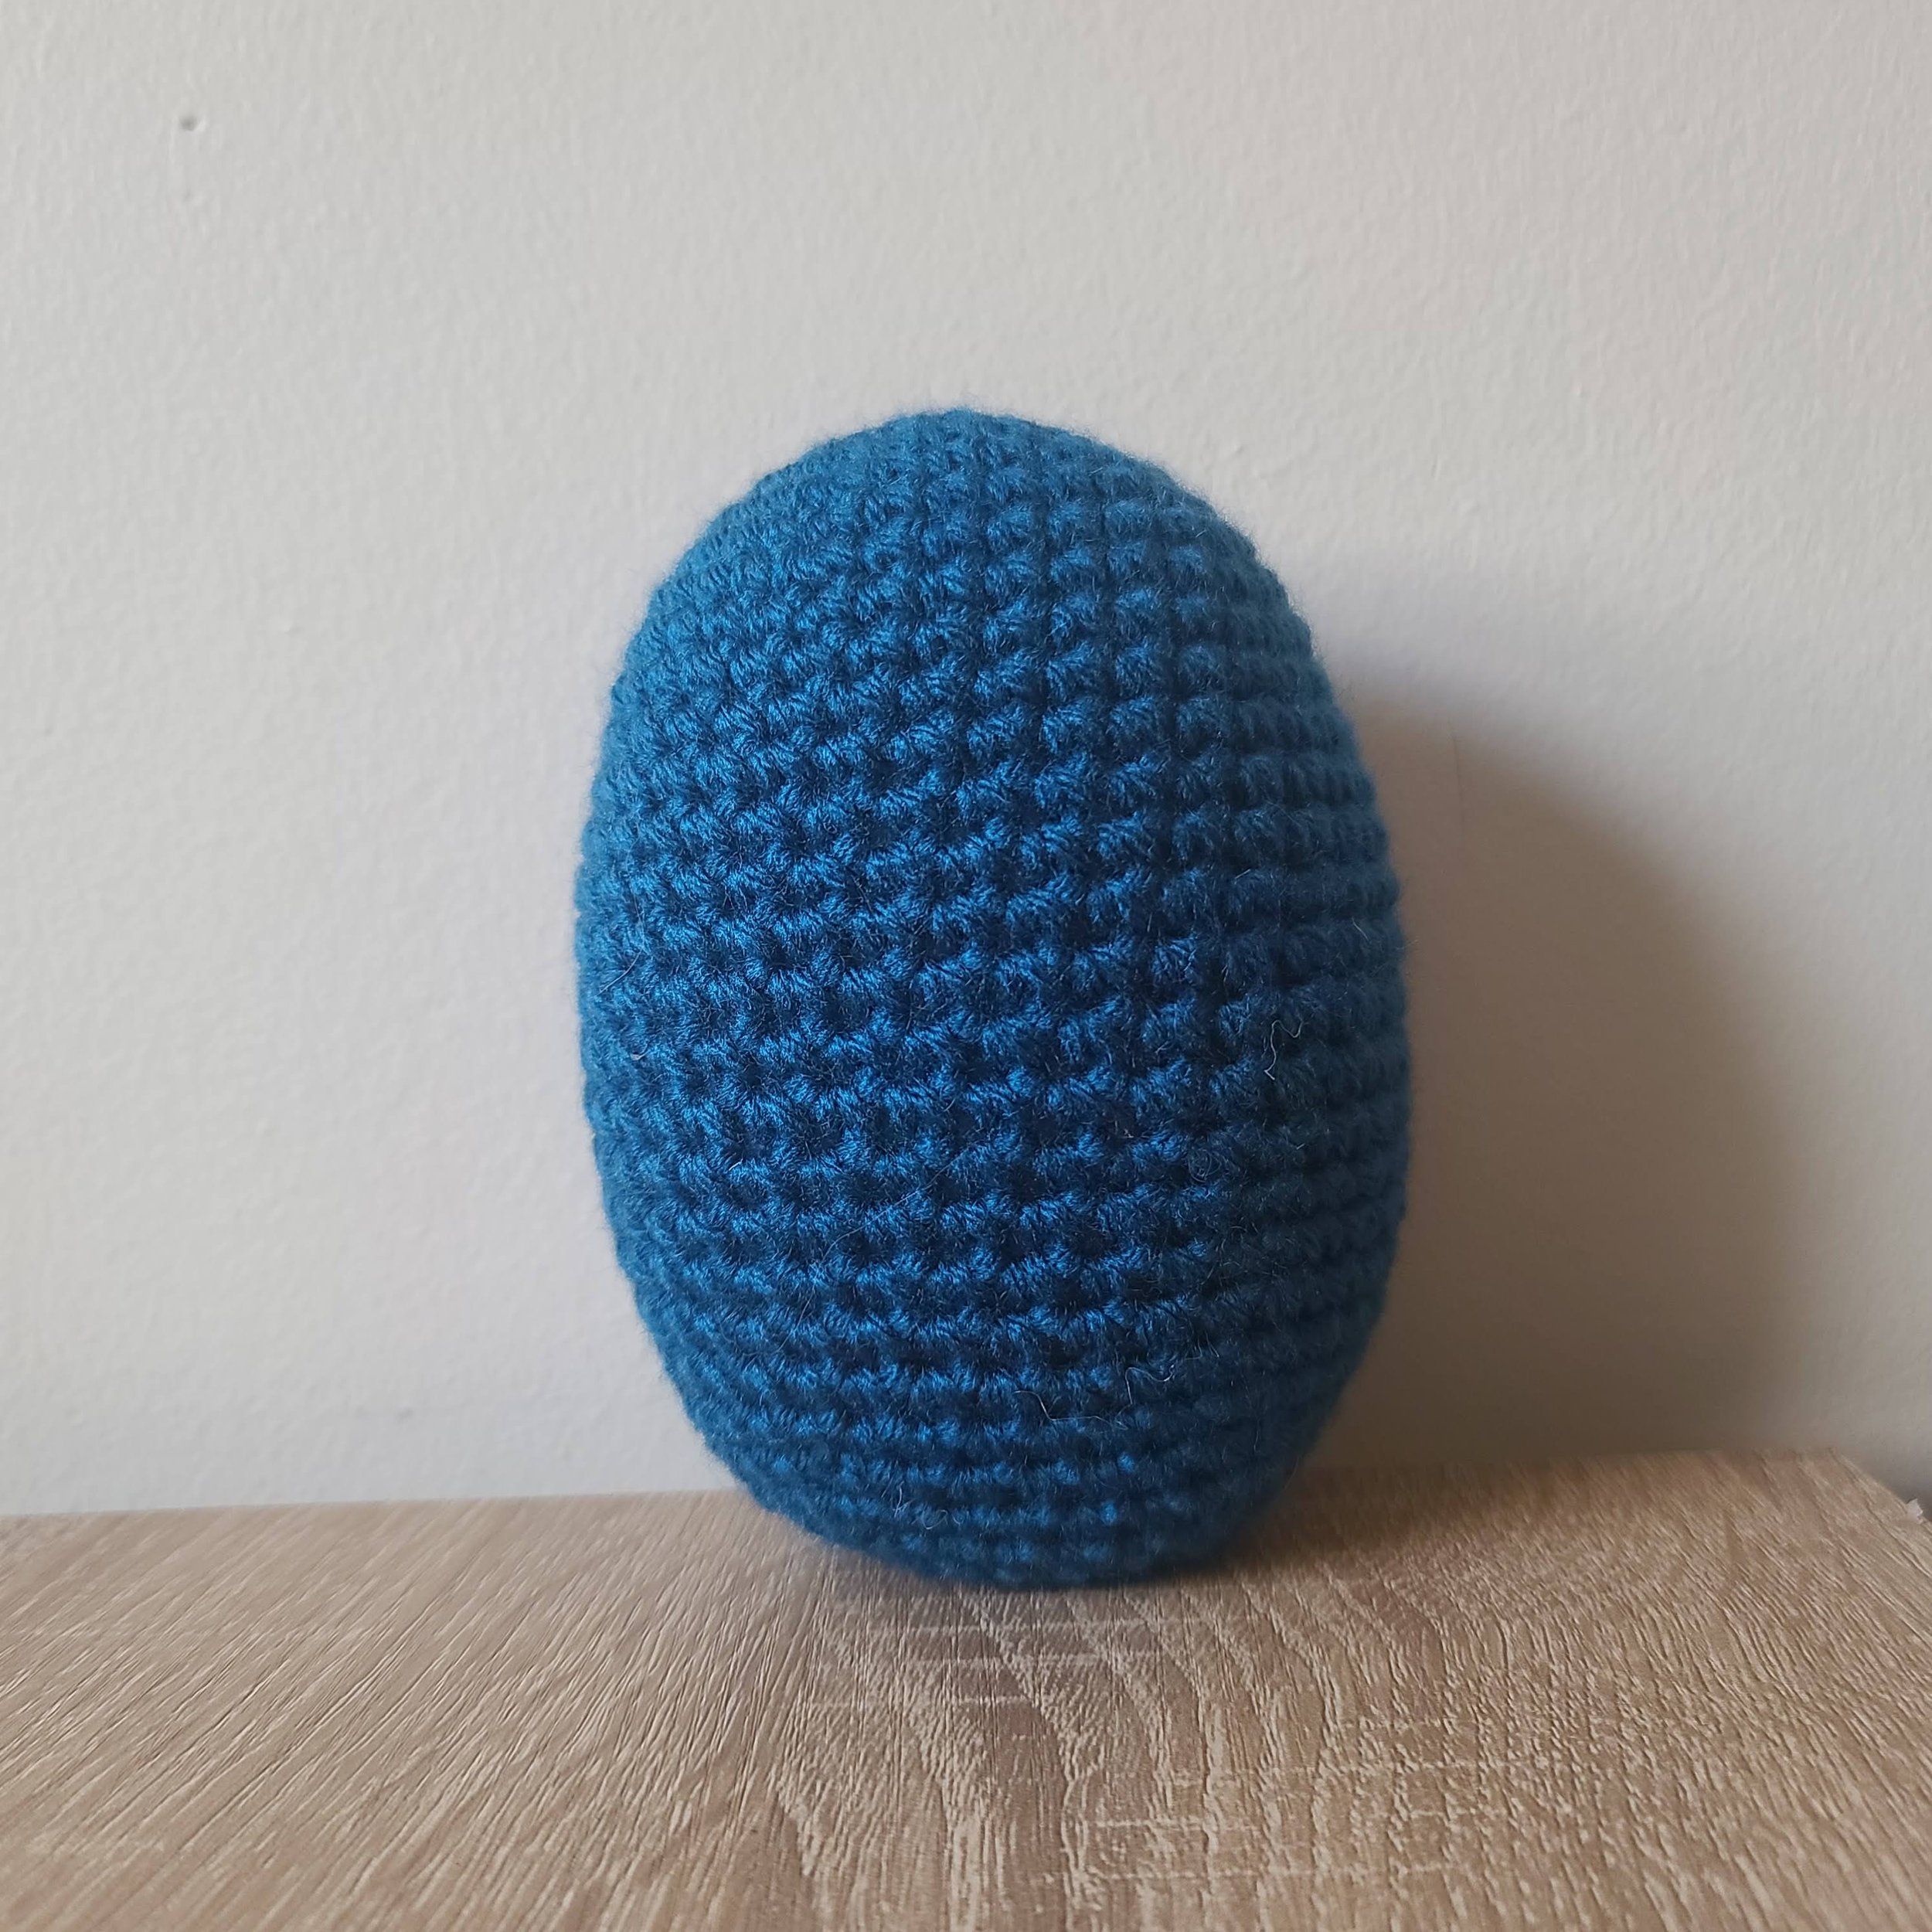
Body
*In “Botany Teal” or “Magenta” with size G/4mm crochet hook
*Worked in continuous rounds
*See “Ovals”
1. Chain 3. Starting in the second chain from the hook: inc, make 3 sc in the next chain. Turn so you are working on the opposite side of the foundation chain & make one sc in the first stitch (oval) (6)
2. Increase in each stitch (12)
3. Inc, inc, 3 sc, inc, inc, inc, 3 sc, inc (18)
4. Sc, inc, sc, inc, 4 sc, inc, sc, inc, sc, inc, 4 sc, inc (24)
5. 2 sc, inc, 2 sc, inc, 5 sc, inc, 2 sc, inc, 2 sc, inc, 5 sc, inc (30)
6. Sc in each stitch (30)
7. 3 sc, inc, 3 sc, inc, 6 sc, inc, 3 sc, inc, 3 sc, inc, 6 sc, inc (36)
8-23. Sc in each stitch (36)
24. 4 sc, dec, 3 sc, dec, 3 sc, dec, 6 sc, dec, 3 sc, dec, 3 sc, dec, 2 sc (30)
25. Sc in each stitch (30)
Add stuffing to the body.
26. 3 sc, dec, 2 sc, dec, 2 sc, dec, 5 sc, dec, 2 sc, dec, 2 sc, dec, 2 sc (24)
27. 2 sc, dec, sc, dec, sc, dec, 4 sc, dec, sc, dec, sc, dec, 2 sc (18)
28. Sc, dec, dec, dec, 3 sc, dec, dec, dec, 2 sc (12)
Finishing adding stuffing to the body.
29. Decrease six times (6)
Fasten off, leaving a tail. Weave the tail through the front loops of the remaining stitches & pull to close the ring.
Arms
*Make two in “Botany Teal” or “Magenta” with size G/4mm crochet hook
*Worked in continuous rounds

1. Start by leaving a long tail to sew the arm to the body & make 6 sc in a magic ring (6)
2. Increase in each stitch (12)
Weave the tail left at the beginning through any of the stitches between rounds 1&2 (see image).
3. Inc, 5 sc, inc, 5 sc (14)
4. Sc in each stitch (14)
5. Dec, 5 sc, dec, 5 sc (12)
6. (sc, dec) x 4 (8)
7. Sc in each stitch (8)
Add stuffing to the top of the arm.
Fold a pipe cleaner in half & twist the ends.
Add tape around the “sharp” end & insert it into the top part of the arm. The rest of the arm will be worked around the pipe cleaner.


8. Sc, dec, 2 sc, dec, sc (6)9. In the back loop only: sc, dec, sc, dec (4)
10-11. Sc in each stitch (4)
12. Increase in each stitch (8)
13. 3 sc, inc, 3 sc, inc (10)
14-16. Sc in each stitch (10)
17. 4 sc, inc, 4 sc, inc (12)
18. (2 sc, inc) x 4 (16)
19. Sc in each stitch (16)
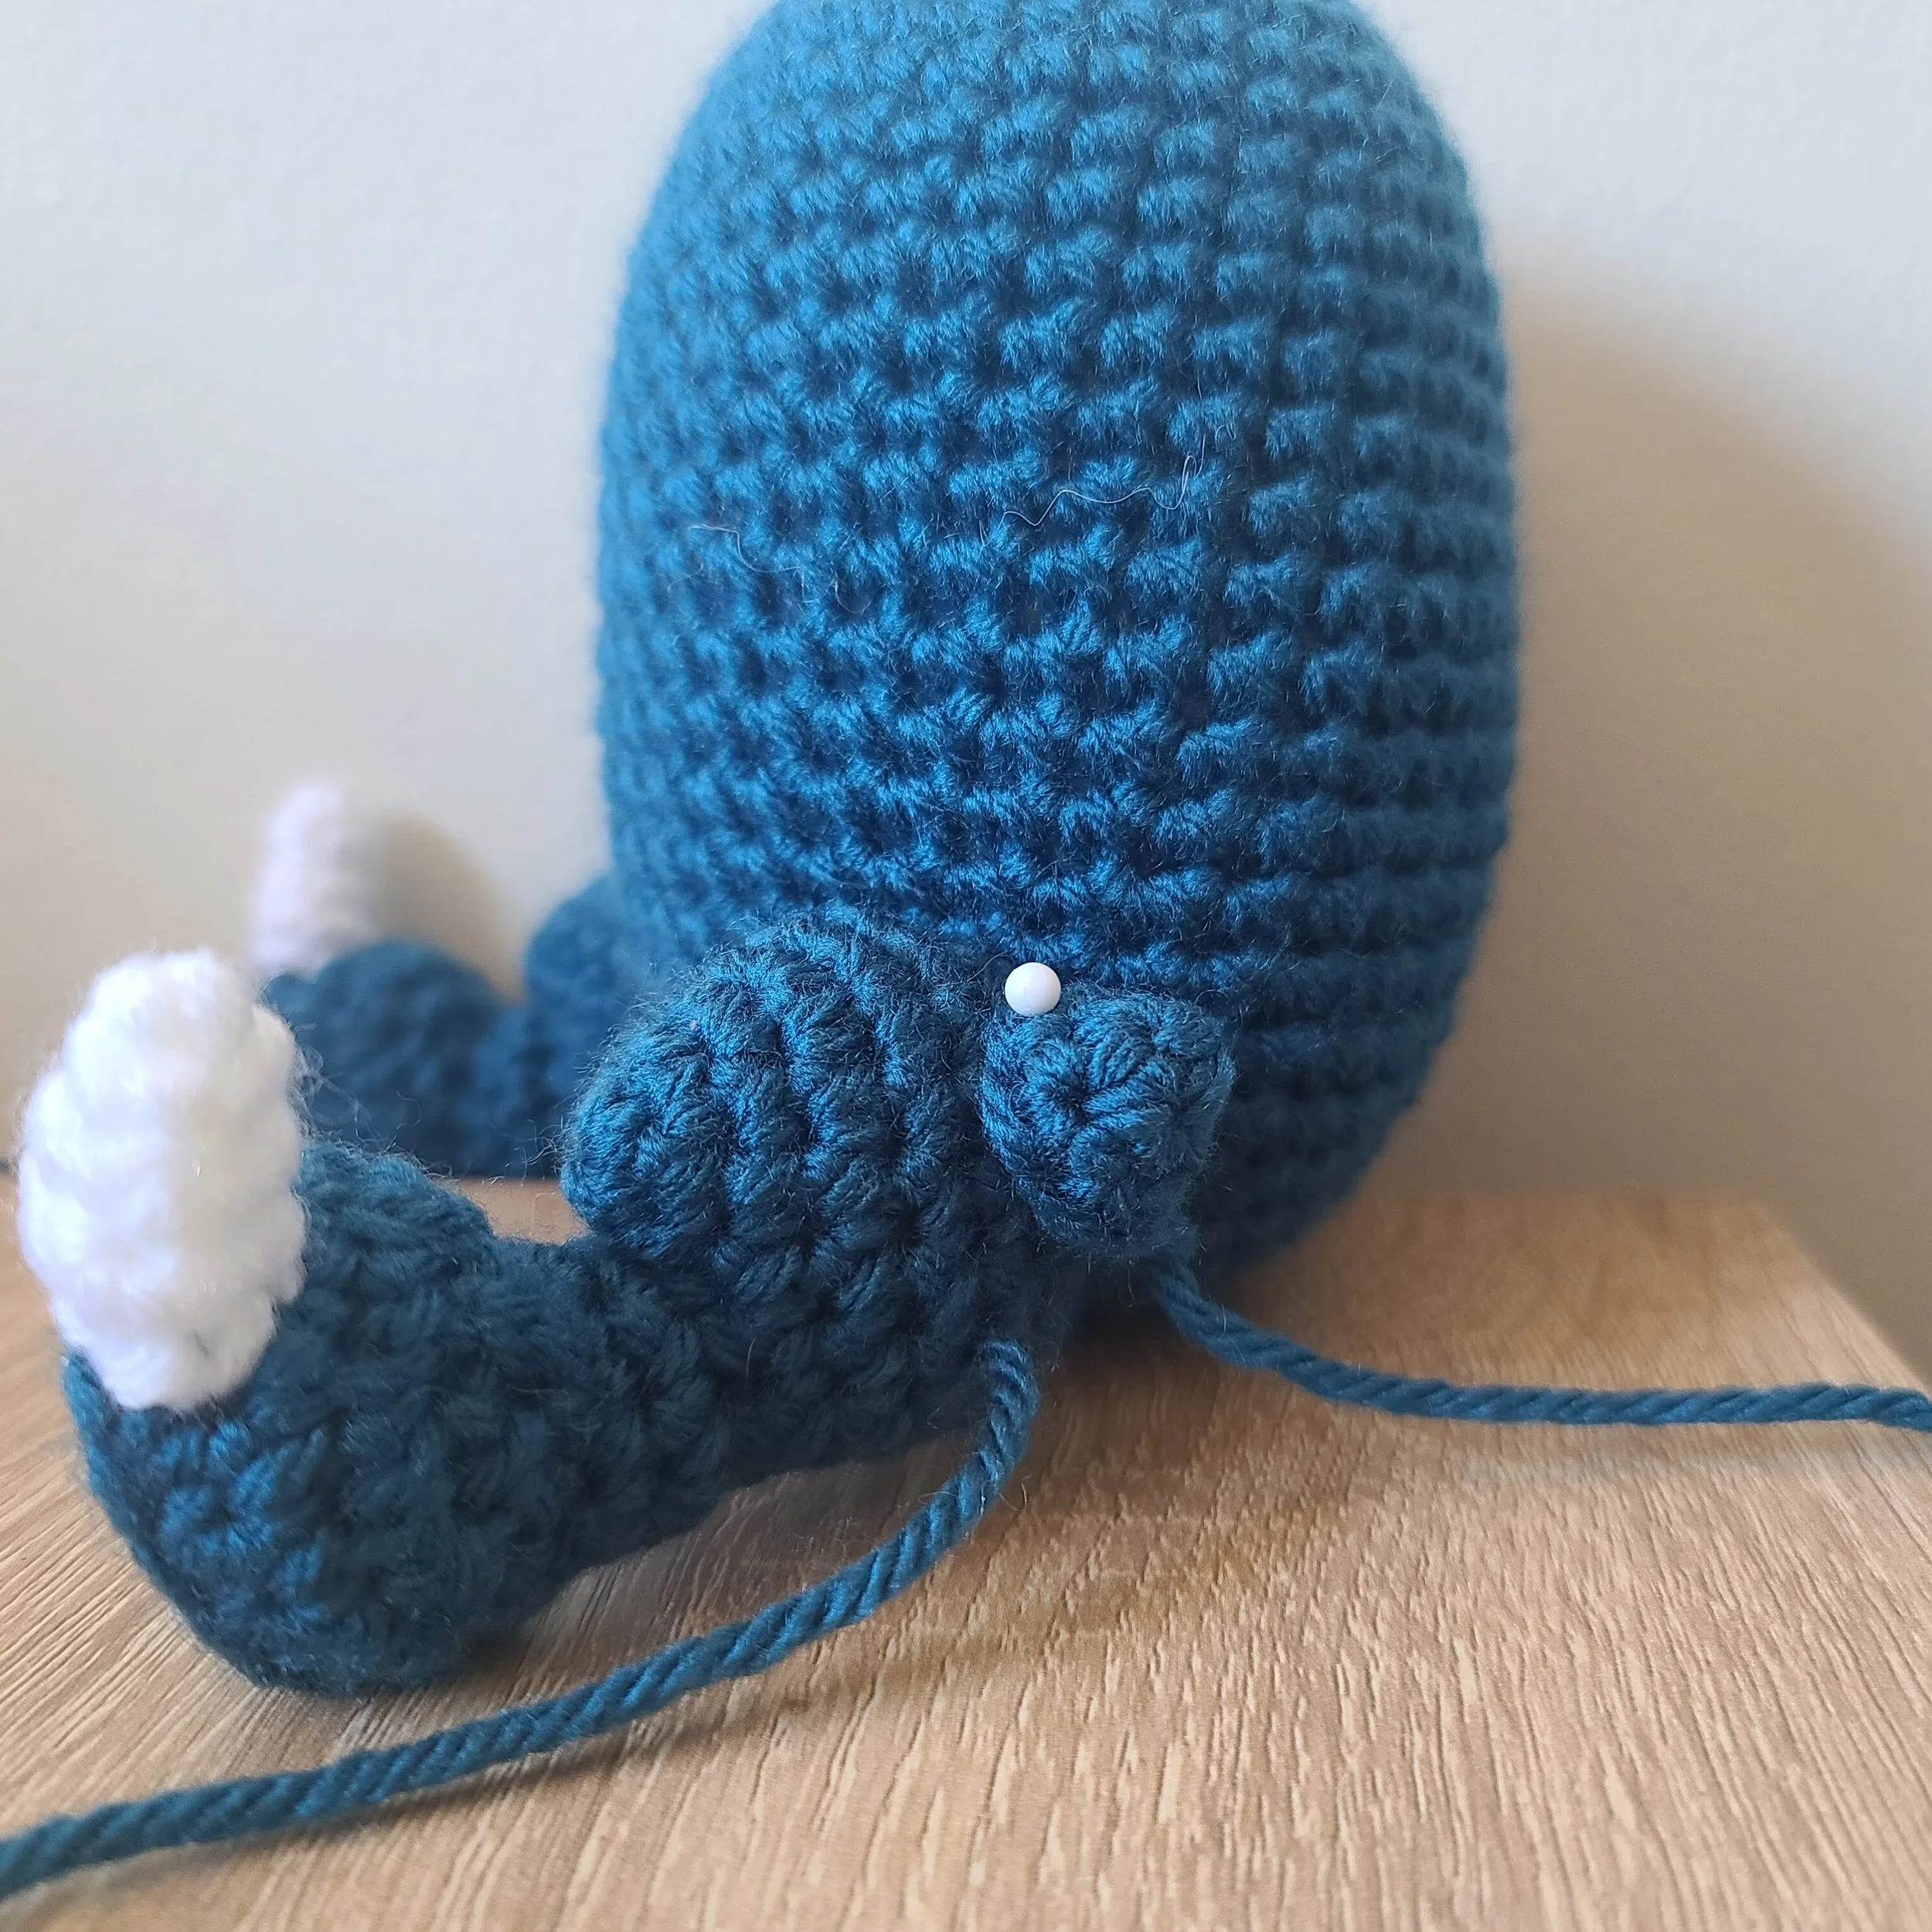
Pull up a loop (see image) & fold the top part of the arm down. Twist the rest of the pipe cleaner. You don’t need to use tape on this end, it just needs to stay inside the arm.


Add stuffing to the arm. Don’t worry about adding stuffing to the rounds of 4 sc – the pipe cleaner will be enough to “stuff” it.
20. 3 sc, dec, dec, 4 sc, dec, dec, sc (12)
21. 2 sc, dec, dec, 2 sc, dec, dec (8)
Fasten off, leaving a tail. Weave the tail through the front loops of the remaining stitches & pull to close the ring.
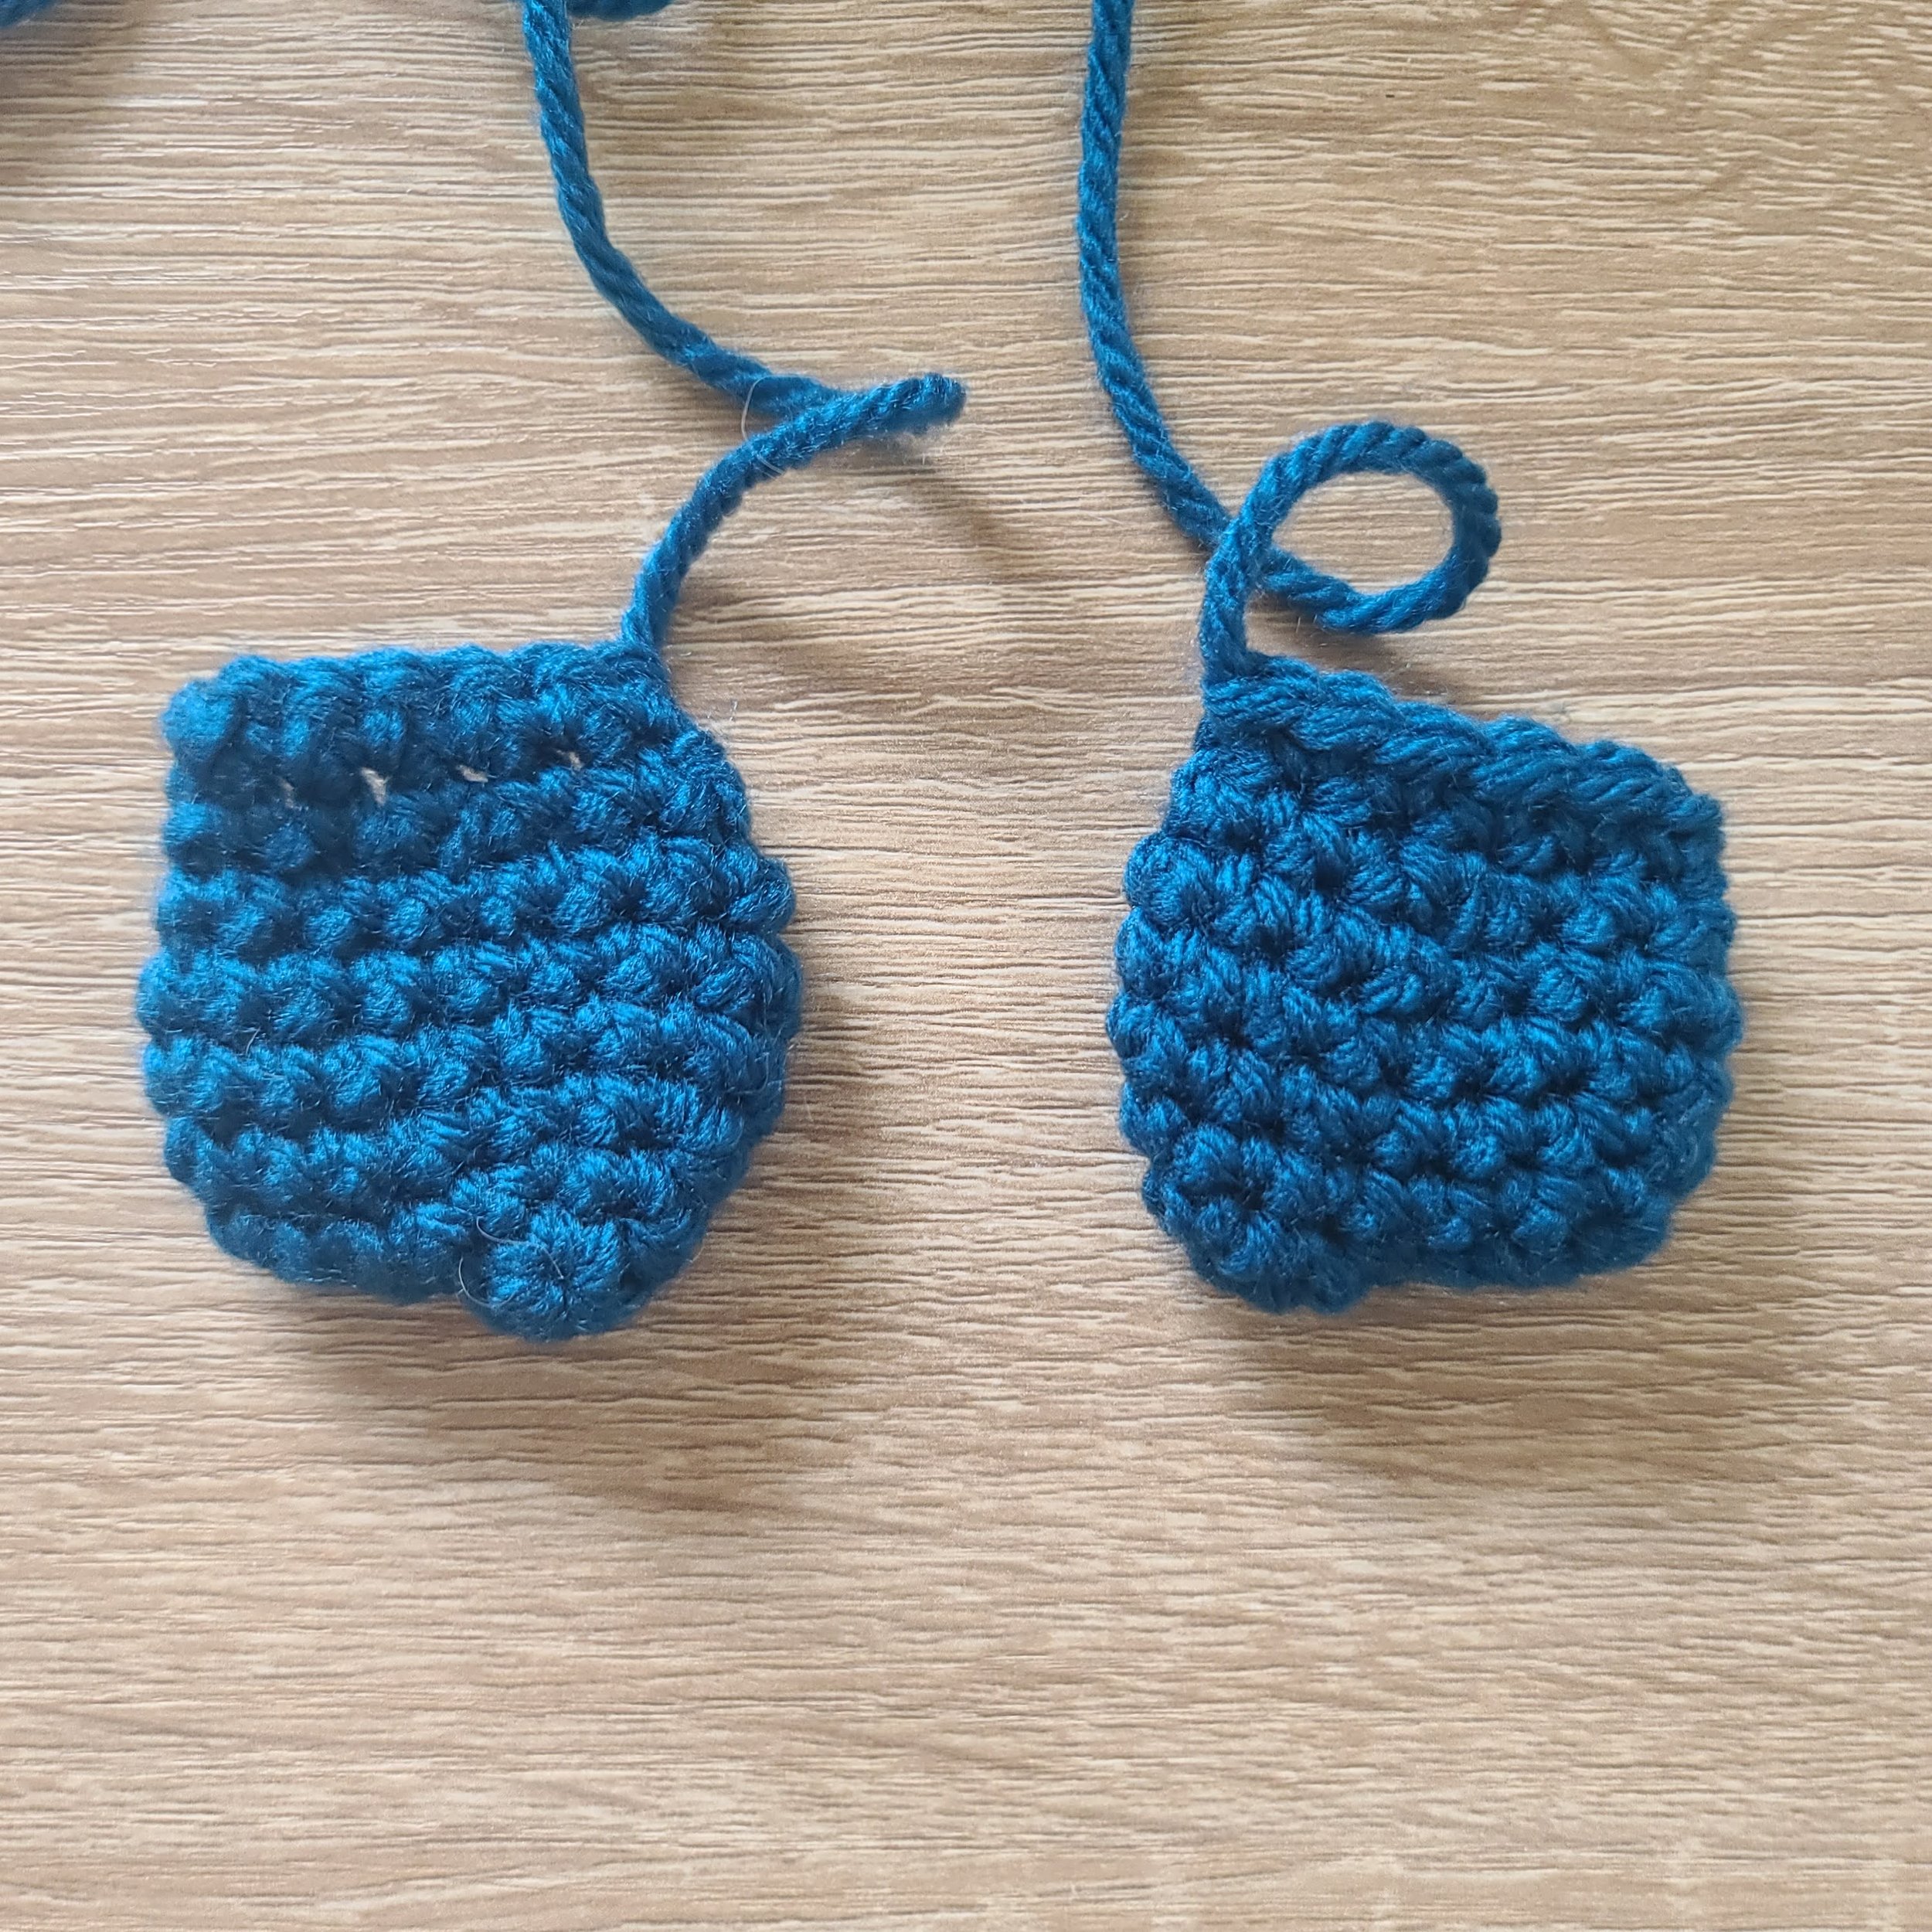
Hands
*Make two in “Botany Teal” or “Magenta” with size G/4mm crochet hook
*Worked in continuous rounds
1. Chain 4. Starting in the second chain from the hook: inc, sc, make 3 sc in the next stitch. Turn so you are working on the opposite side of the foundation & sc in the next two chains. (8)
2-3. Sc in each stitch (8)
Fasten off, leaving a tail to sew to the arm.
Arm pieces
*Make two of each piece in “Botany Teal” or “Magenta” with size G/4mm crochet hook
*Worked in rounds
Piece A:
1. Make 4 sc in a magic ring (4)
2. Inc, hdc, double crochet increase, hdc. Slip stitch to the first stitch (6)
Fasten off, leaving a tail to sew to the arm.
Piece B:
1. In a magic ring: sc, sc, hdc, dc, dc, hdc. Slip stitch to the first stitch (6)
Fasten off, leaving a tail to sew to the arm.
Horn&horn pieces
*Made in “Botany Teal” or “Magenta” with size G/4mm crochet hook
*Worked in continuous rounds
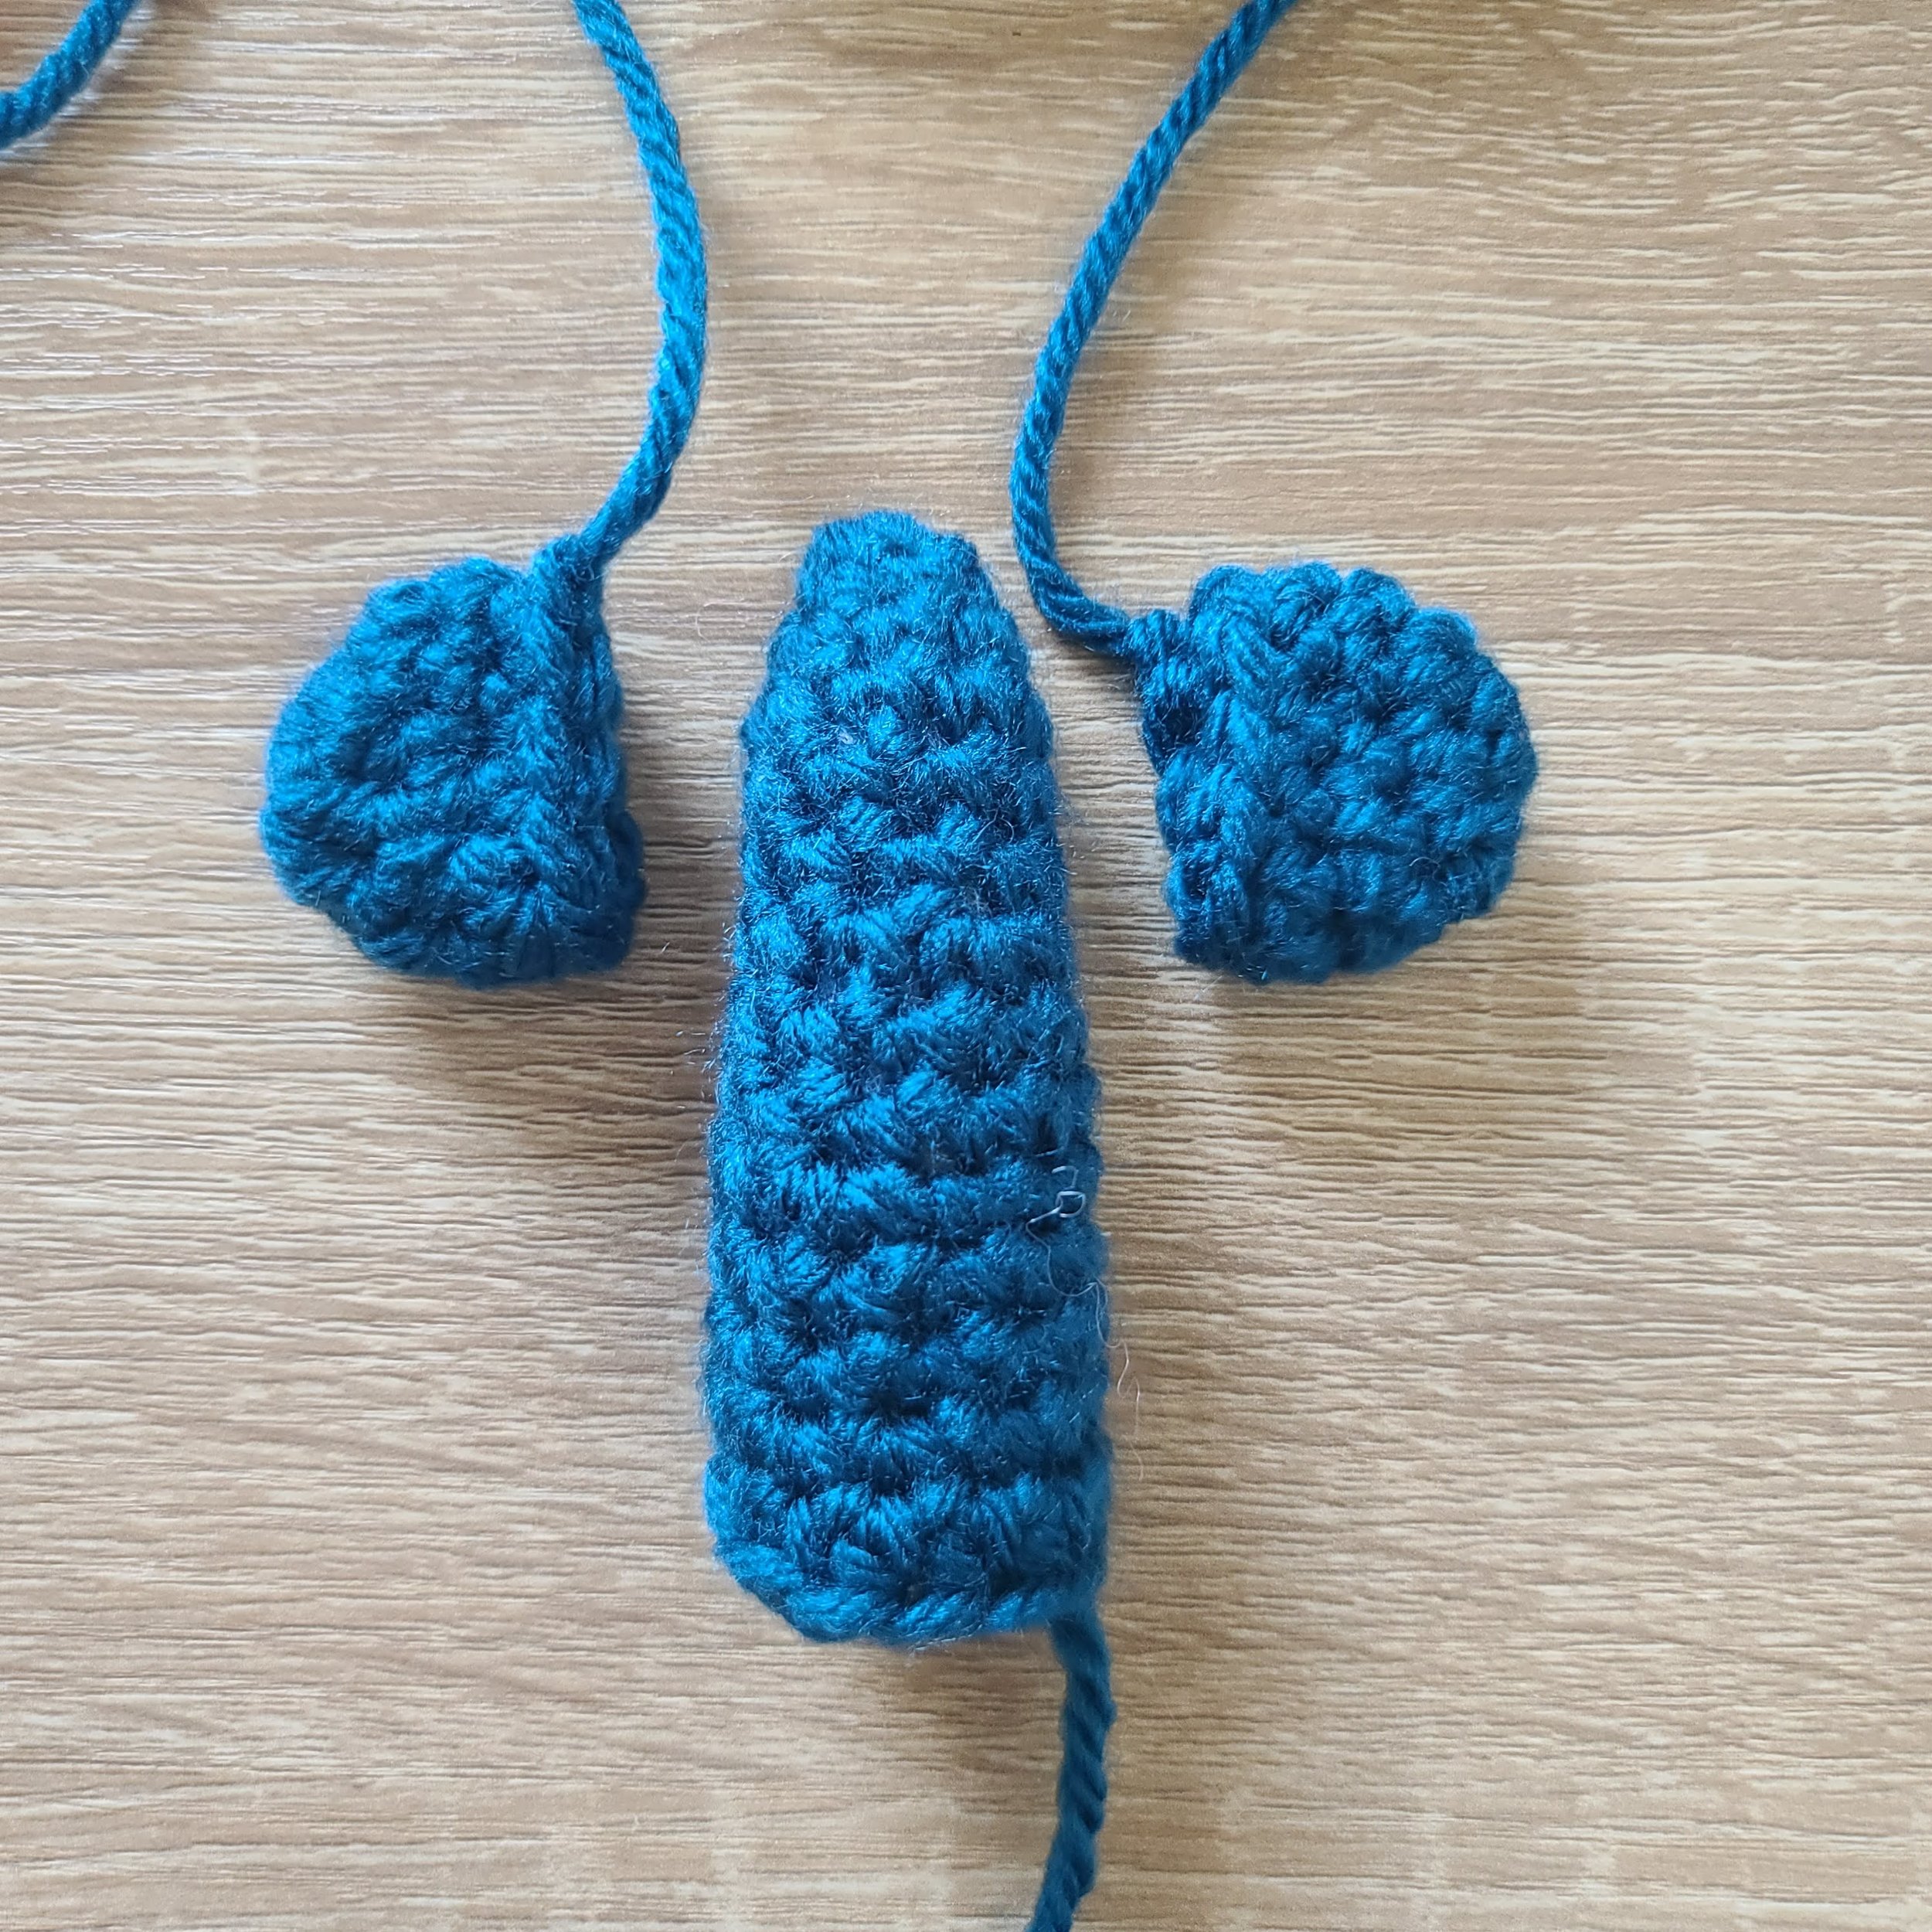
Horn:
1. Make 6 sc in a magic ring (6)
2. Sc in each stitch (6)
3. Inc, 2 sc, inc, 2 sc (8)
4-6. Sc in each stitch (8)
7. 4 sc, inc, 3 sc (9)
8-9. Sc in each stitch (9)
10. 4 sc, inc, 4 sc (10)
11-12. Sc in each stitch (10)
13. 4 sc, inc, 4 sc, inc (12)
14. Sc in each stitch (12)
15. Sc, slip stitch in the next 3 stitches, 2 sc, 5 hdc, sc (12)
Fasten off, leaving a tail to sew to the body.
Horn pieces – make two:
1. Make 8 sc in a magic ring (8)
2. Inc, 2 sc, hdc, half double crochet increase, hdc, 2 sc (10)
3. 4 sc, 4 hdc, 2 sc (10)
4. 5 sc, 2 hdc, 3 sc, slip stitch to the first stitch (10)
Fasten off, leaving a tail to sew to the horn.
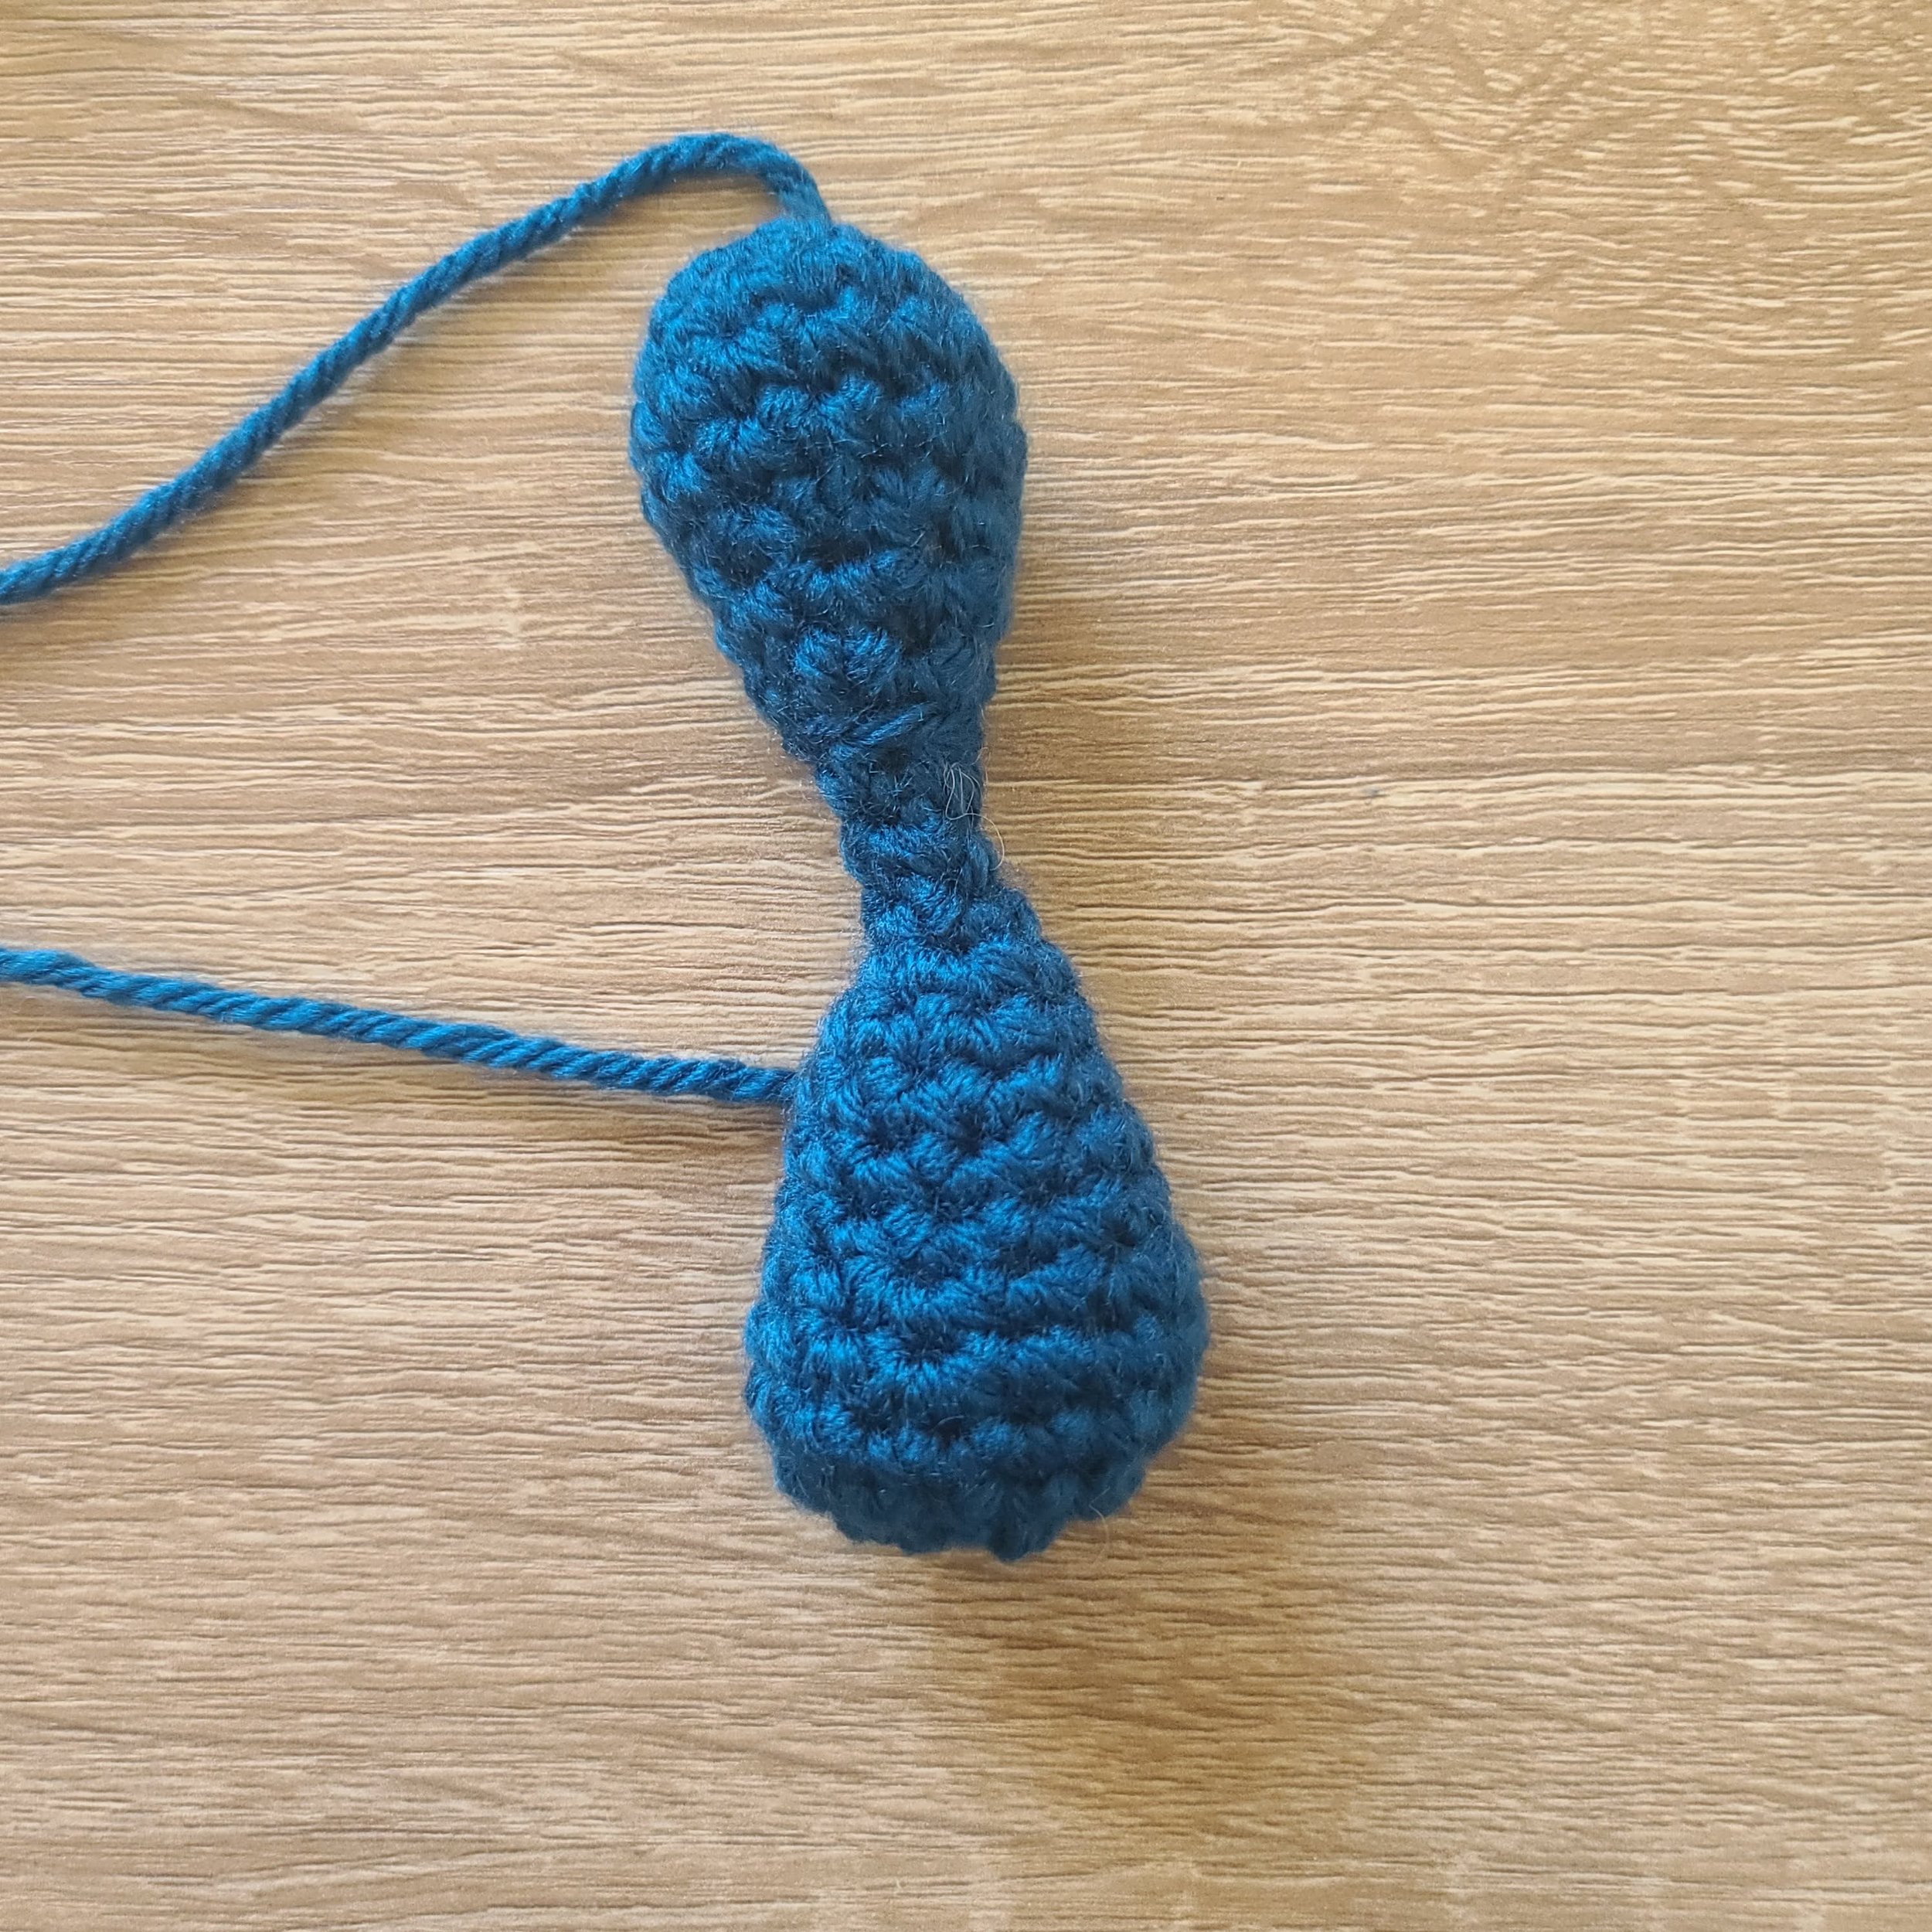
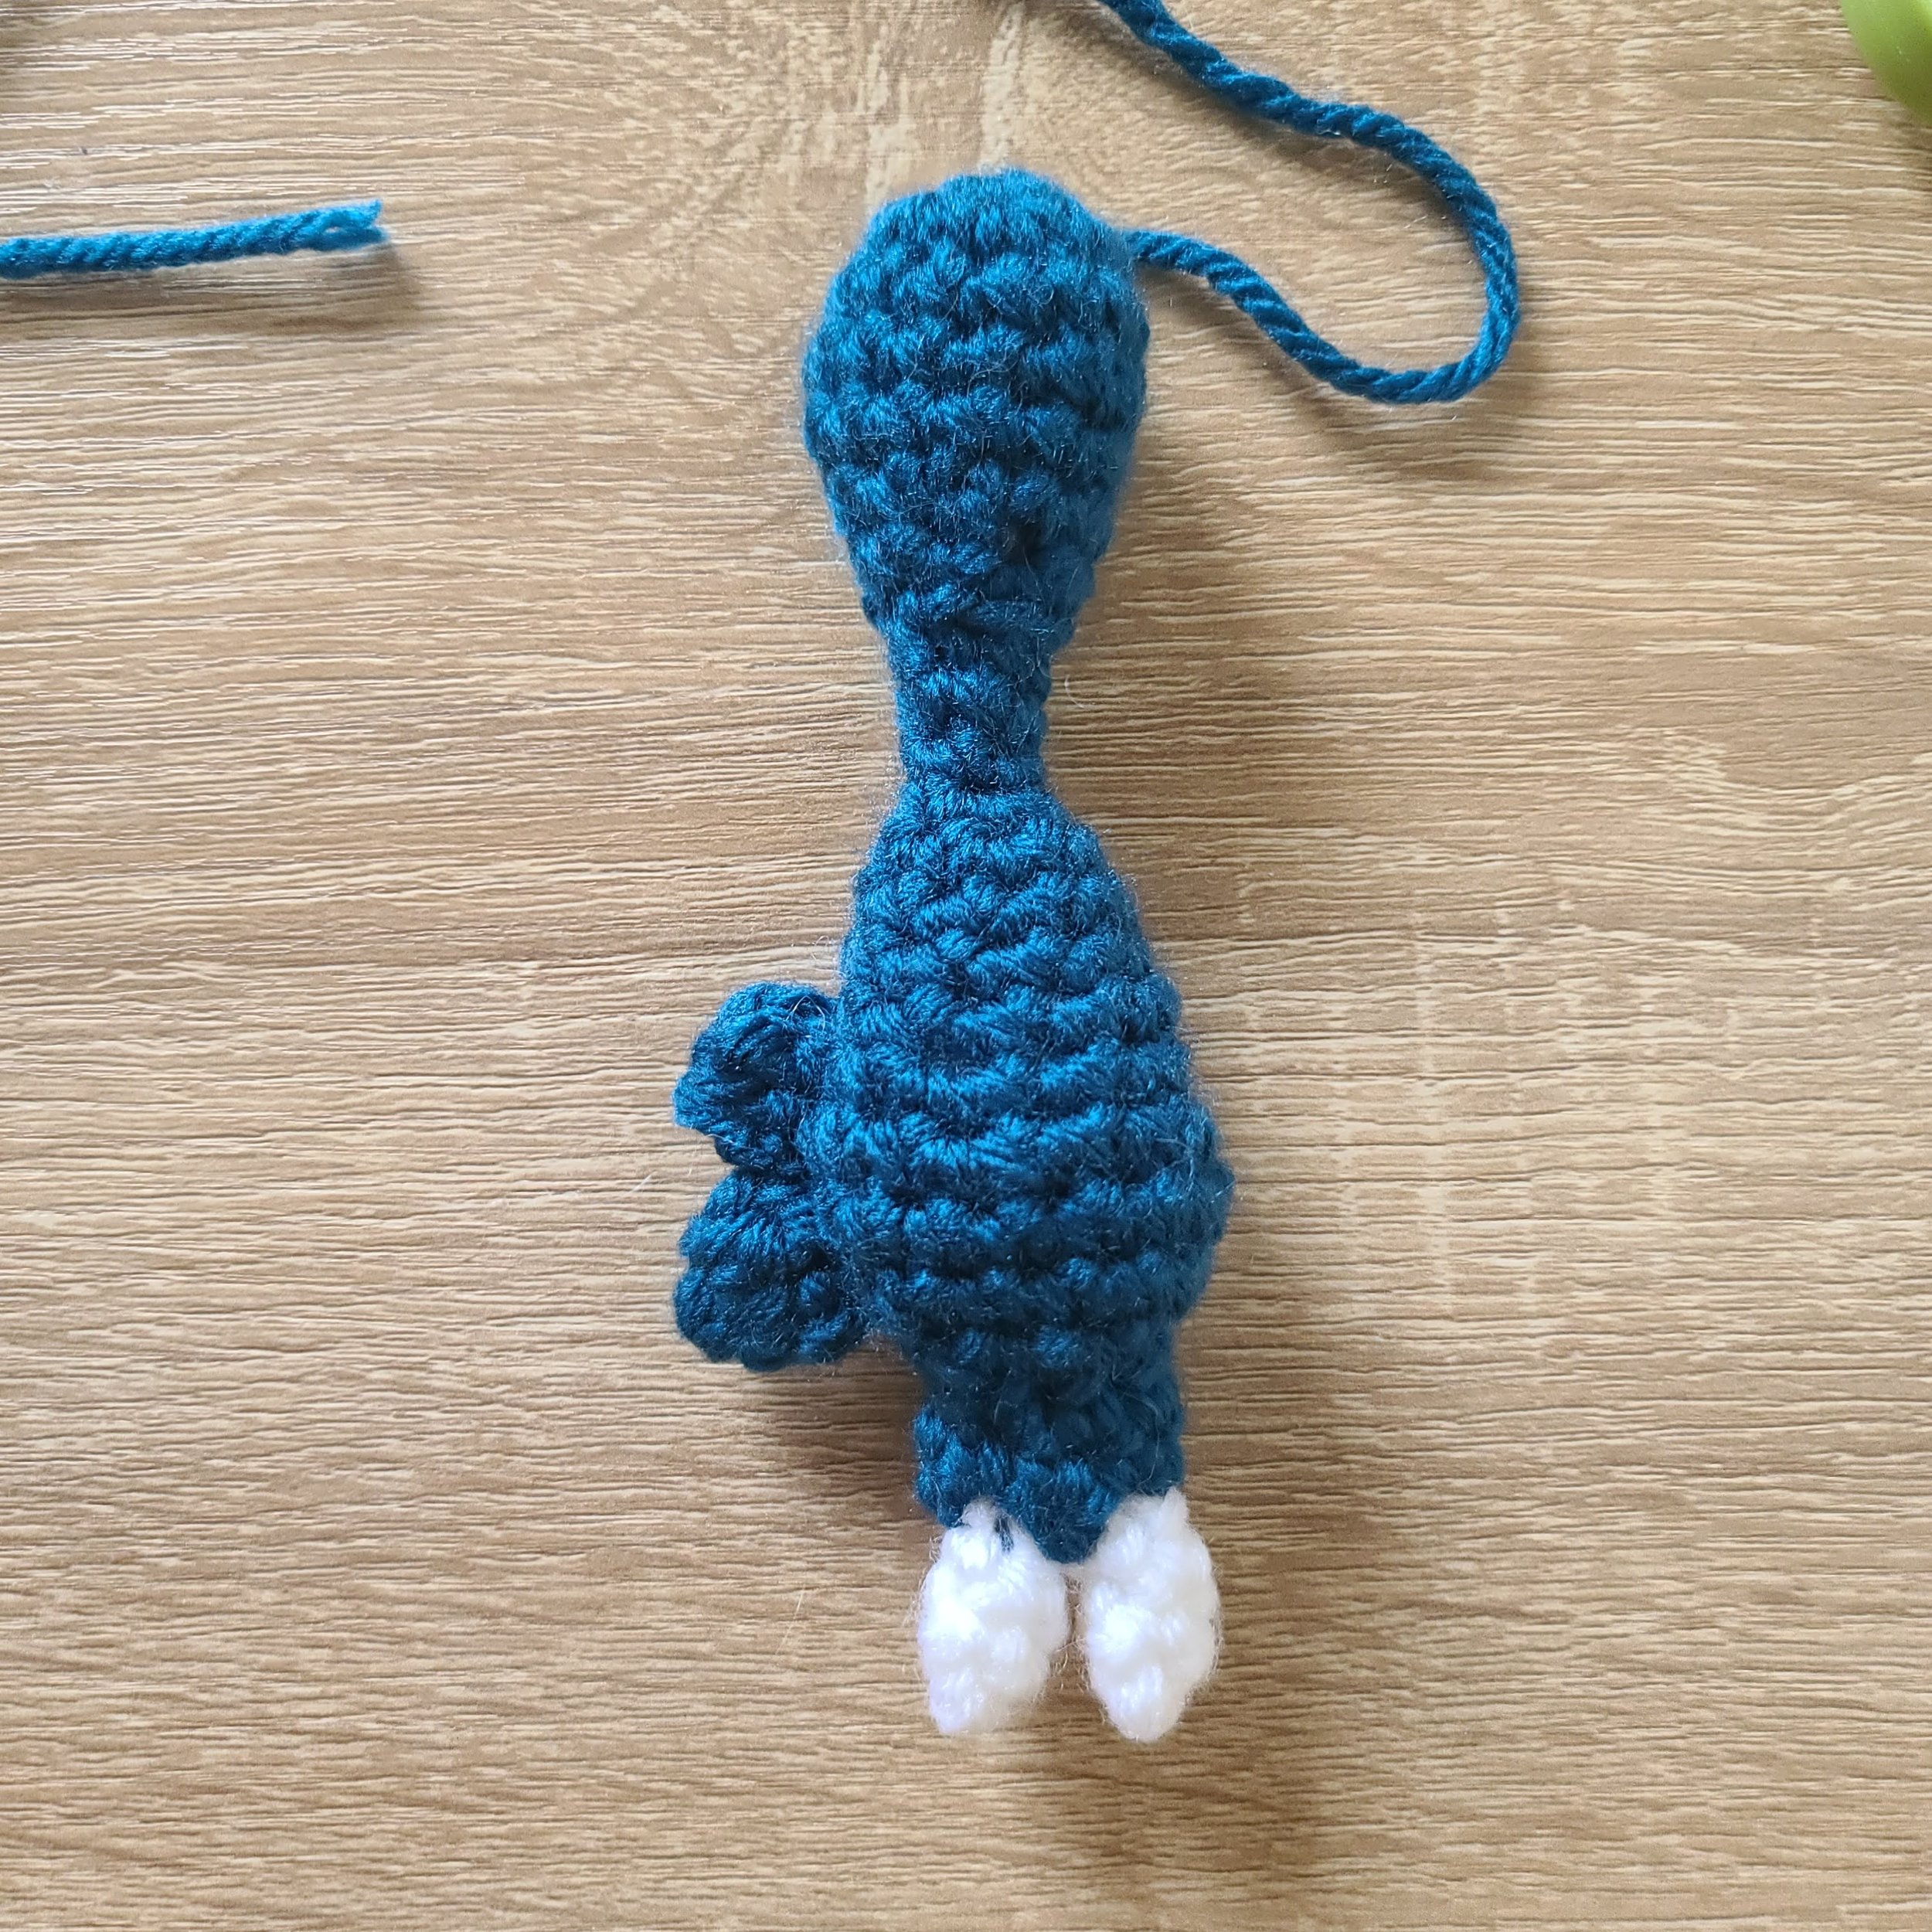
Legs
*Make two in “Botany Teal” or “Magenta” with size G/4mm crochet hook
*Worked in continuous rounds
1. Make 5 sc in a magic ring & slip stitch to the first stitch (5)
2. Chain 4. Starting in the second chain from the hook: make 3 sc in the chains. Along the stitches on the magic ring: 2 sc, inc, 2 sc. Make 3 sc on the opposite side of the chain. (12)


3. Inc, 5 sc, inc, 5 sc (14)
4. Inc, 6 sc, inc, 6 sc (16)
For the next part, you can do two or three rounds for the legs. It just depends on how long you want them to be.
6-8. Sc in each stitch (16)
9. Sc, dec, 2 sc, dec, 2 sc, dec, sc (12)
Leg one:
10. 2 sc, chain one & turn (2 – but you will still have stitches to work into when you turn)
11. 6 sc (6)
Fasten off, leaving a tail to sew to the body.
Leg two:
10. 8 sc – leave the last four stitches unworked (8)
Fasten off, leaving a tail to sew the body.
Ankles, feet&leg pieces
*Make two feet & two ankles in “Botany Teal” or “Magenta” with size G/4mm crochet hook
*Worked in continuous rounds
Ankles:
1. Start by leaving a long tail to sew to the foot & chain 8. Slip stitch to the first chain to form a ring. Chain one. Sc in each of the 8 foundation chains (8)
2. Sc in each stitch (8)
Fasten off, leaving a tail to sew to the leg.

Feet:
1. Chain 5. Starting in the second chain from the hook: inc, 2 sc, make 3 sc in the next stitch. Turn so you are working on the opposite side of the foundation chain & sc in the next 3 chains (10)
2. Inc, inc, 3 sc, make 3 sc in the next stitch, 3 sc, inc (15)
3. In the back loop only (just for this round): sc in each stitch (15)
4. No longer working in the back loop: sc in each stitch (15)
5. Dec, 3 sc, dec, dec, dec, dec, 2 sc (10)
Add stuffing to the foot.
6. Sc, dec, dec, dec, dec, sc (6)
Fasten off, leaving a tail. Weave the tail through the front loops of the remaining stitches & pull to close the ring.
Leg pieces – make two:
1. Make 4 sc in a magic ring (4)
2. Inc, sc, inc, sc (6)
3. Sc in each stitch (6)
Fasten off, leaving a tail to sew to the leg.
Claws (hands&toes)

*In White with size E/3.5mm crochet hook
*Worked in continuous rounds
Hand claws – make two for each hand – four in total:
1. Make 3 sc in a magic ring (3)
2. Inc, 2 sc (4)
3. Sc in each stitch (4)
Fasten off, leaving a tail to sew the hand.
Toe claws – make two:
1. Make 3 sc in a magic ring (3)
2. Inc, 2 sc (4)
3. Inc, sc, inc, sc (6)
4. Sc in each stitch (6)
Fasten off, leaving a tail to sew to the foot.
Antennas
*Make two in “Botany Teal” or “Magenta”
Tops – make two, with size G/4mm crochet hook:
1. Make 6 sc in a magic ring (6)
2. Sc in each stitch (6)
Add a tiny bit of stuffing if you can.
3. dec, dec, dec (3)
Fasten off, leaving a tail. Weave the tail through the front loops of the remaining stitches & pull to close the ring.
Bottoms – make two, with size E/3.5mm crochet hook:
1. Start by leaving a tail to sew to the body & chain 6. Starting in the fourth chain from the hook, make 4 dc (4)
Fasten off, leaving a long tail to sew the sides of the piece together (see image) & then sew to the top piece.

ASSEMBLY
· Sew the ankles to the backs of each of the feet.
· Sew the toe claws to the tops of each of the feet.
· Sew the opposite end of the ankle to the chain part at the beginning of each of the legs & add stuffing to the ankle as it begins to close.


· Sew the legs to the sides of the body. The tops of the legs should sit between rounds 19&20 of the body & the bottoms of the legs should sit between rounds 23&24 of the body. Step 10 on each of the legs should overhang the outer-side of the body. They should sit approximately 10 stitches apart.

· Pin the leg pieces to the outer side of each leg. Add a bit of stuffing to them & sew them onto the legs.
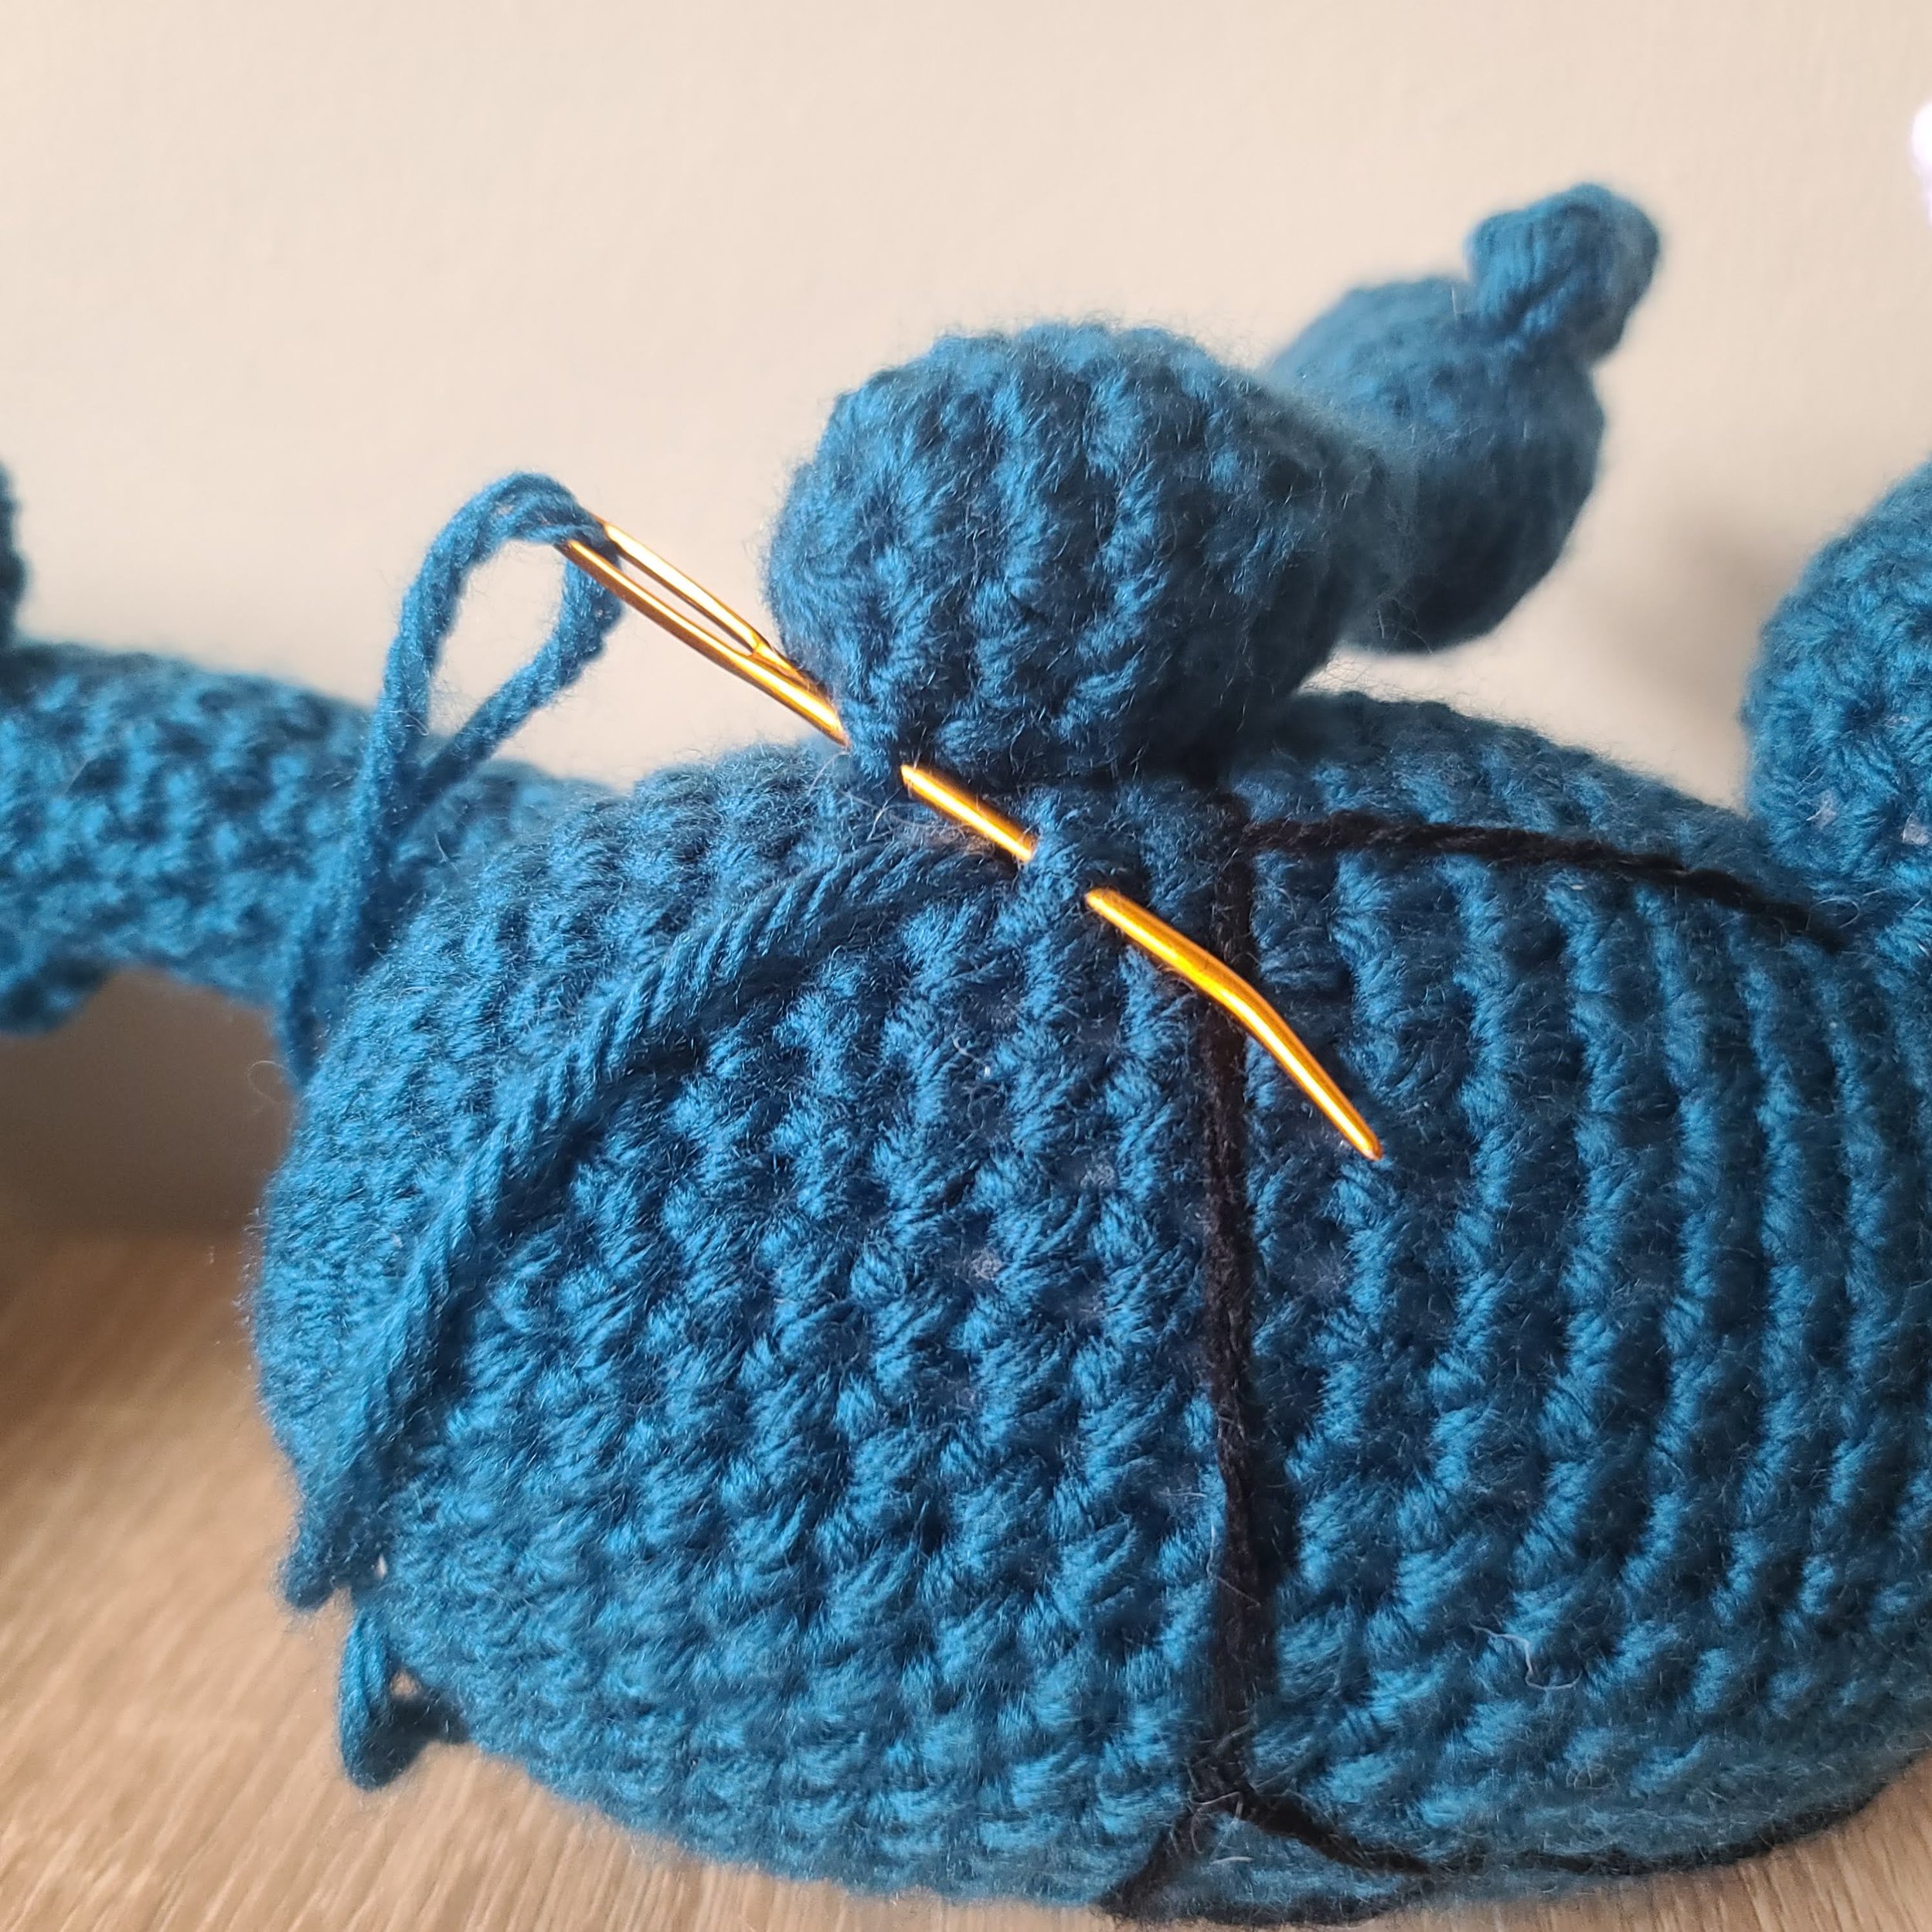
· Using a thin piece of black yarn or black embroidery floss, embroider a line around the body between rounds 13&14.
· Place two pins approximately 7 stitches apart.
· Embroider two lines down the body from each pin.
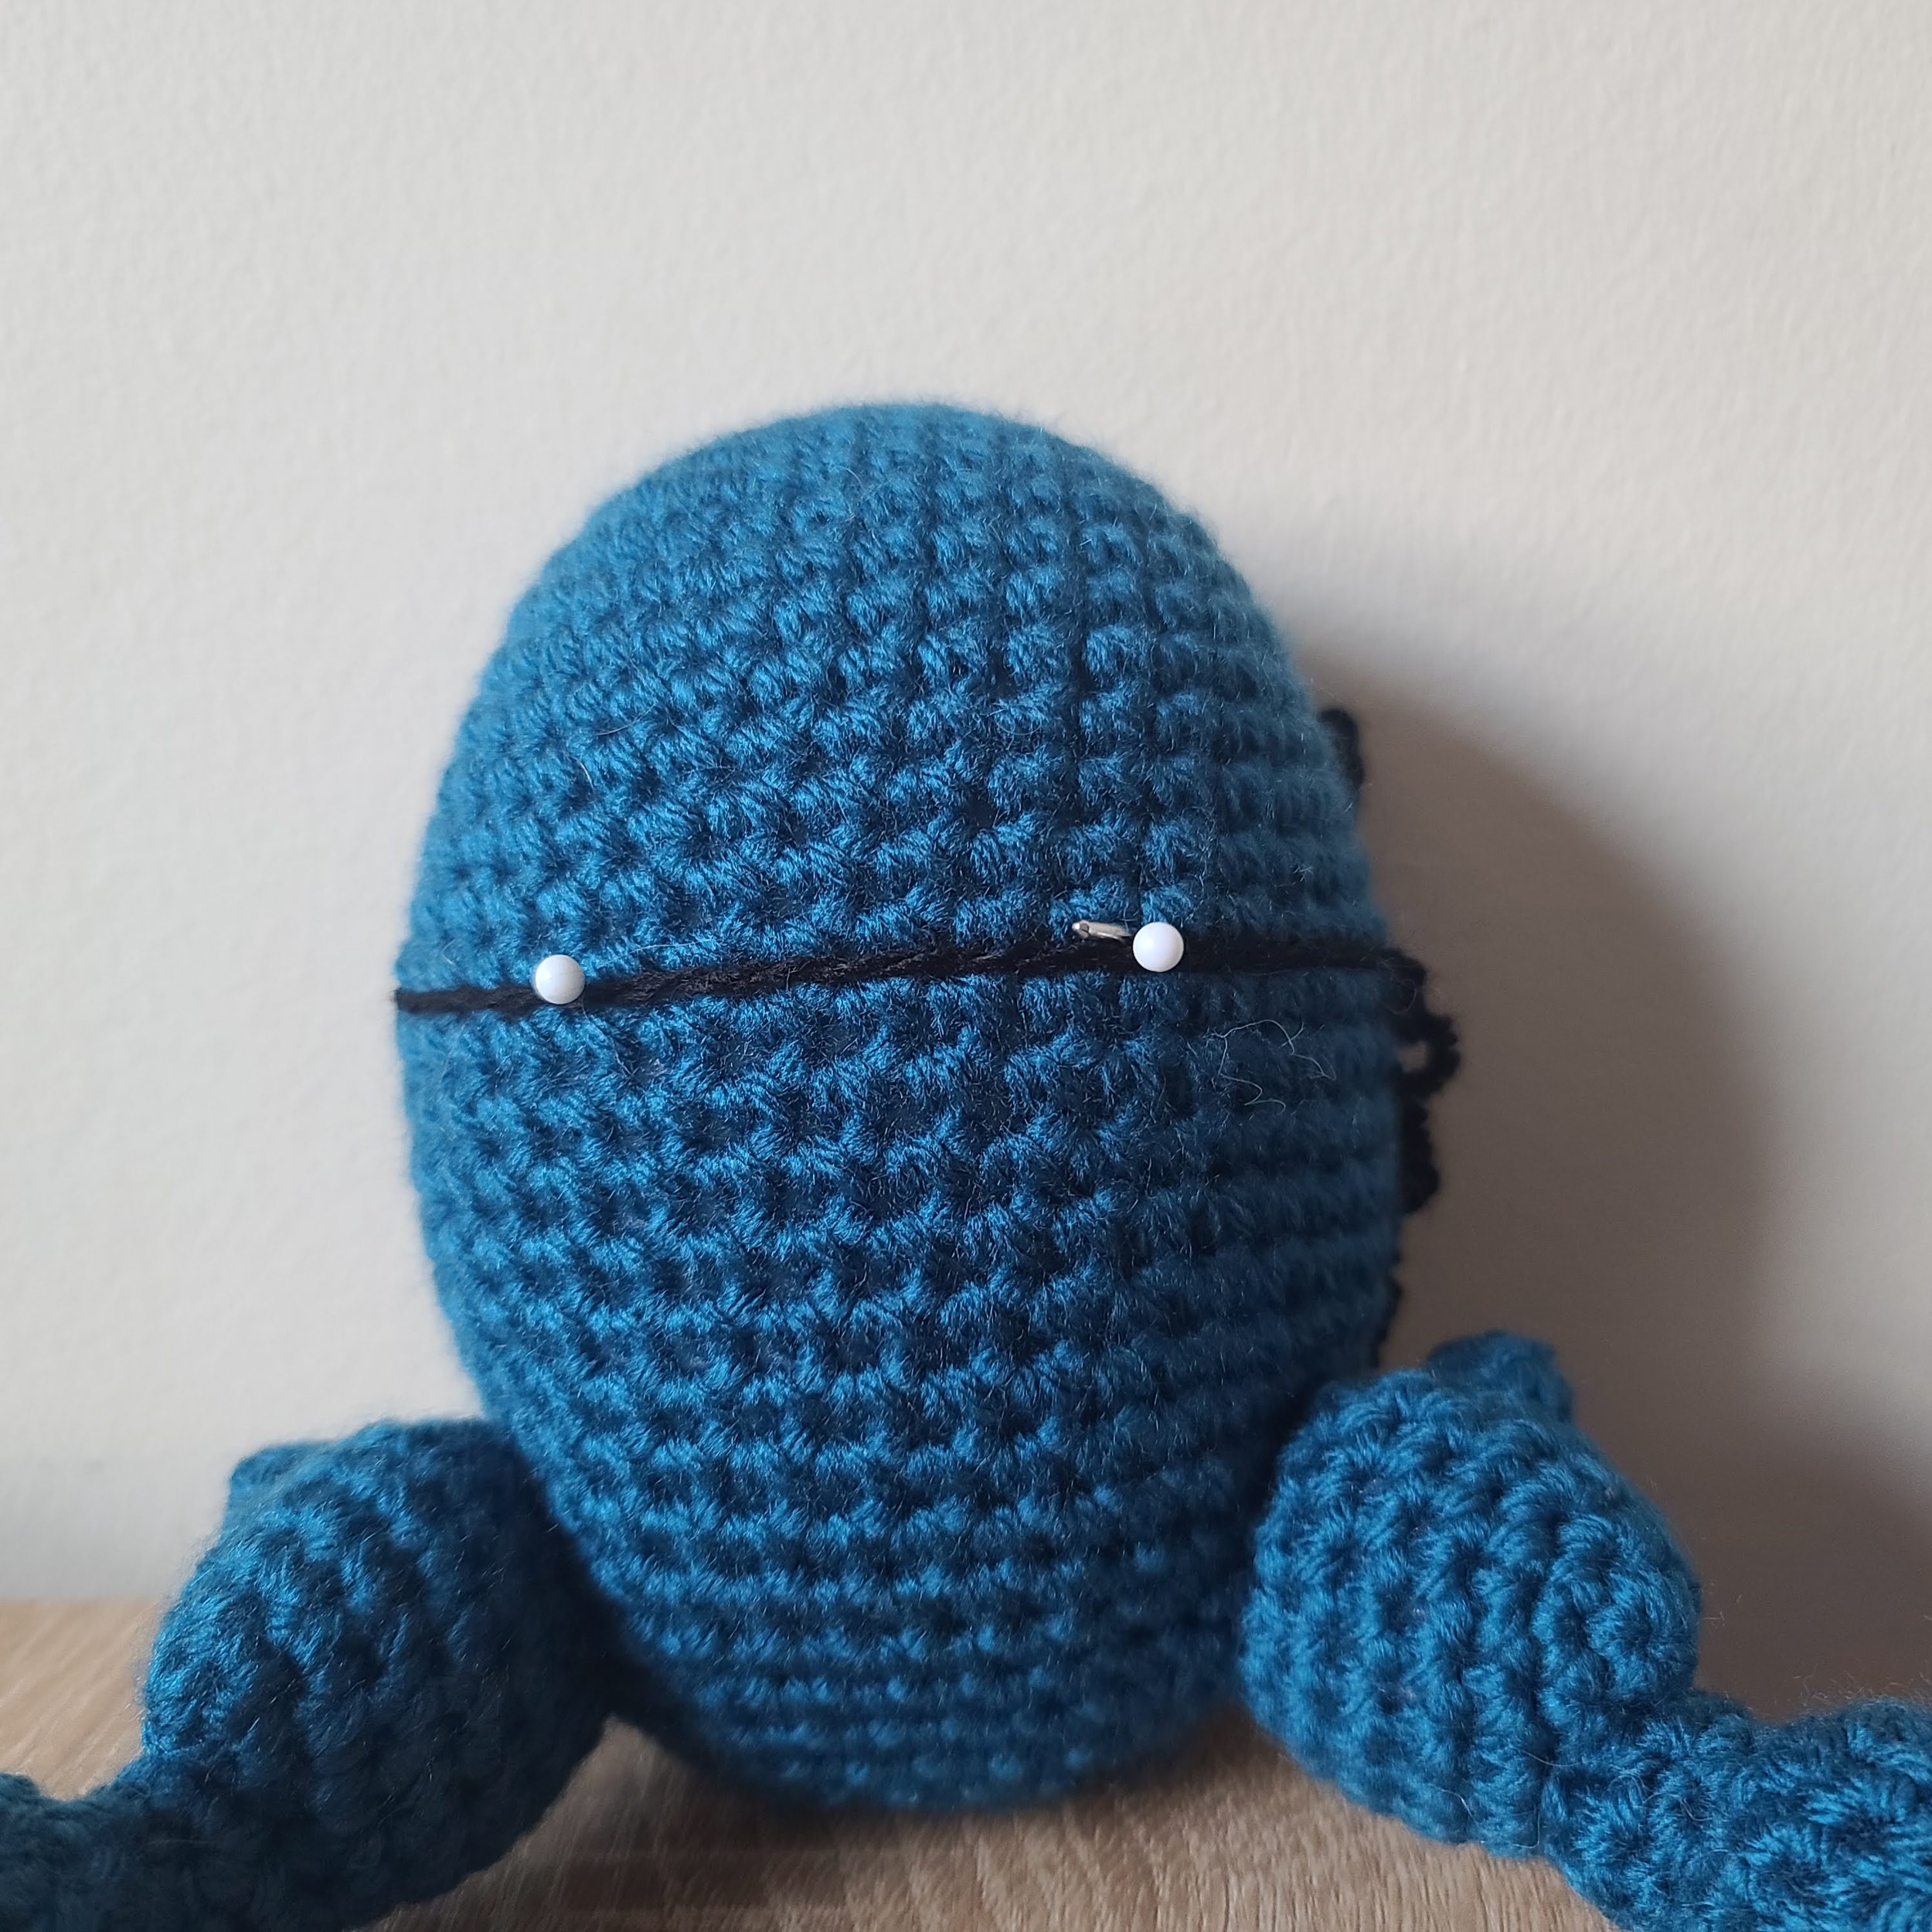

· Embroider a line between the two lines just created, between the last 7&8 rounds of the body.
· Embroider a line down the sides of the body, from the original line made to the top/back of each leg.
· Embroider a V shape on the back of the body & then a line from the bottom/center of the V to the bottom of the body.

· Add stuffing to the horn.
· Sew the horn pieces flat to the sides of the horn. They should sit between rounds 2&3 to between rounds 6&7 of the horn.
· Pin the horn to the top of the body. The slip stitches on the horn should sit between rounds 4&5 of the body, and the half double crochet stitches should sit between rounds 8&9 of the body.
· Sew the horn to the body.

· Sew the hands to the last round of each of the arms. Add stuffing to the hands before finishing sewing them on.
· Sew two claws to each of the hands.

· Sew arm piece A to the end of the arm flat (by going through two stitches at a time – see image above). Piece A needs to sit on the outer side of each of the arms.
· Sew arm piece B on flat to the arm, directly below arm piece A.

· Using the tail left at the beginning of each of the arms, sew the arms to the sides of the body.
They should sit directly above the line on the body going down to each of the legs.
The arms should sit two rounds above the long line around the body & one round below that same line.
Work around the posts of the stitches on the arms & body to sew them to the body.
· After sewing the sides of the bottom piece of the antenna together, sew one end of the bottom piece to the last round of the top piece.
· Sew the antennas between rounds 6&7 of the body, on each side of the horn.

· Cut two large ovals out of yellow felt.
Cut two smaller ovals out of black felt.
Cut two tiny circles out of white felt.
· Using fabric glue, glue the black oval to the center of the yellow oval.
Next, glue the white circles to the tops of the black ovals.
· Embroider a line 3 rounds below the horn. Next embroider two lines one round above/one stitch to the side of each of the ends of the first line.
· From the second lines made, embroider a line on each side to the bottoms of each of the antennas.

· Using fabric glue, glue the eyes over top of the last lines made, slightly angled so that the tops of each of the eyes are further apart.

