Reverse single crochet stitch
Lately I’ve been messing around with different stitches. The reverse single crochet stitch has pretty quickly become one of my favourites - it creates a beautiful edging. It’s a bit confusing to make at first, but once you get the hang of it, it looks really nice!
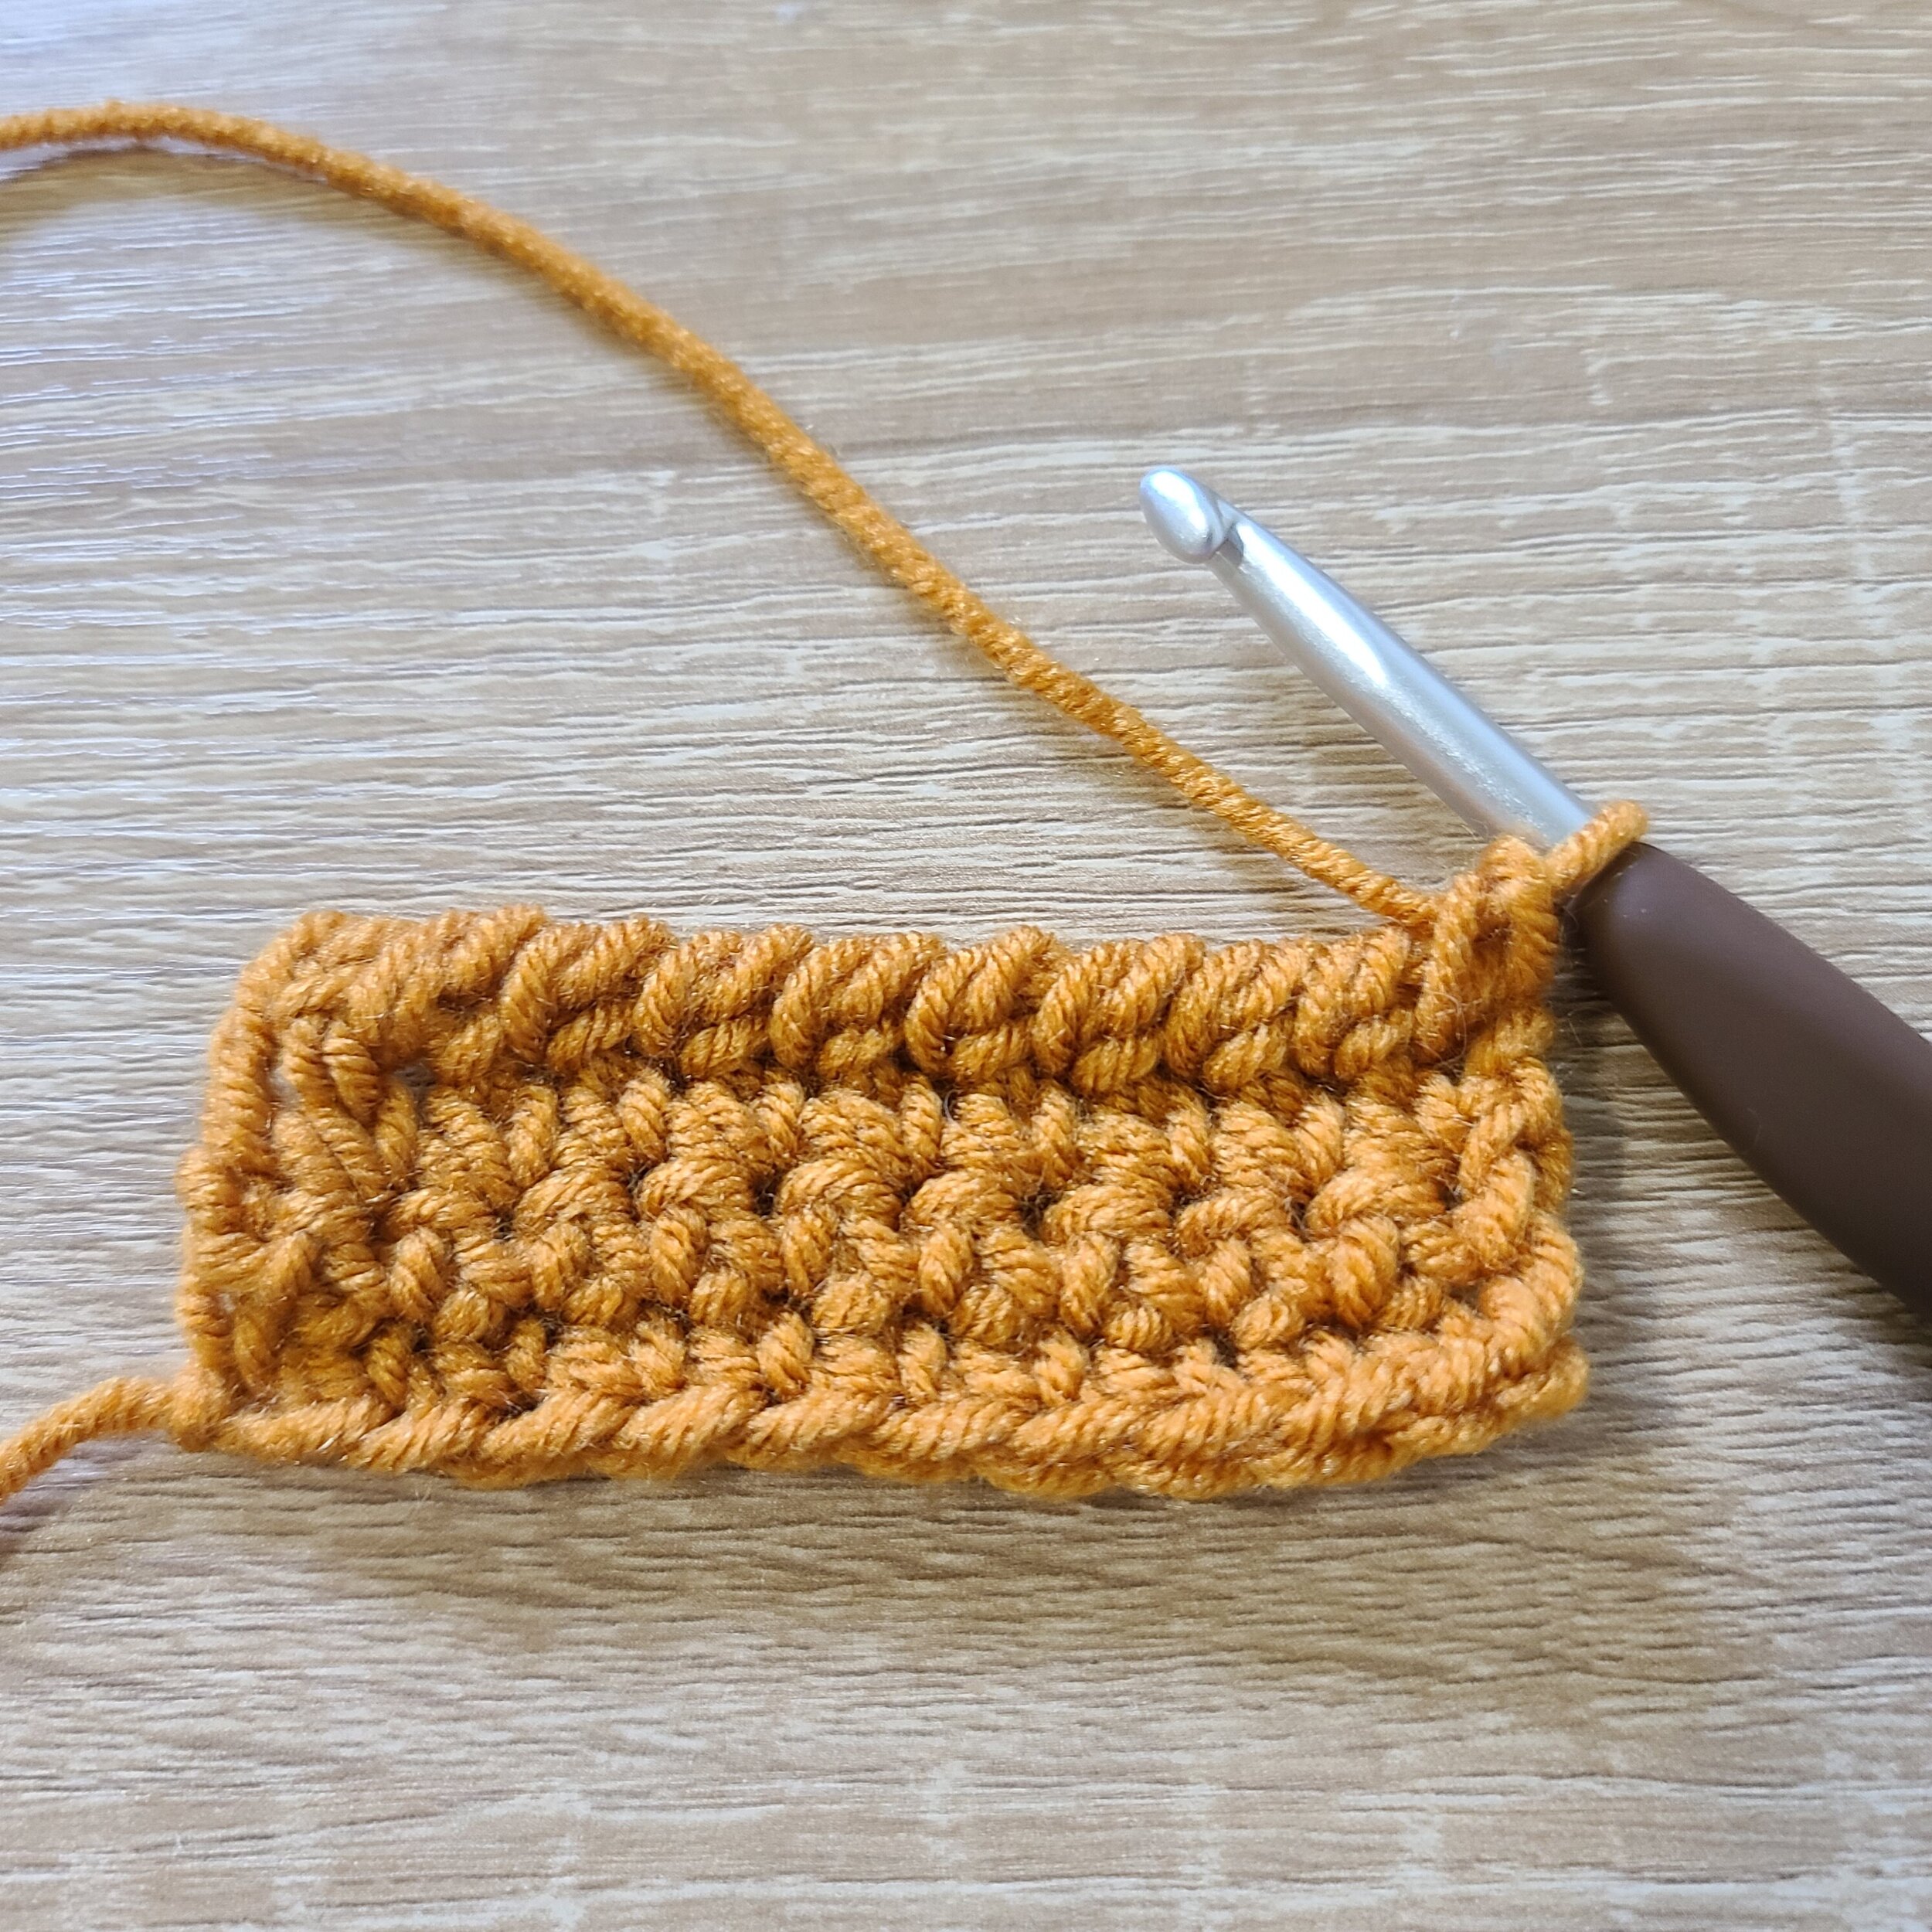
Example:
Using a 6mm/J hook & size 4/worsted weight yarn:
1. Chain 11. Starting in the second chain from the hook, sc 10, chain one & turn (10)
2. 10 sc, chain one & turn (10)
3. 10 sc (10)
Insert your hook into the last stitch that you made (it’s a bit awkward).

Now, wrap the yarn over your hook & pull through (like you would to make a single crochet stitch).
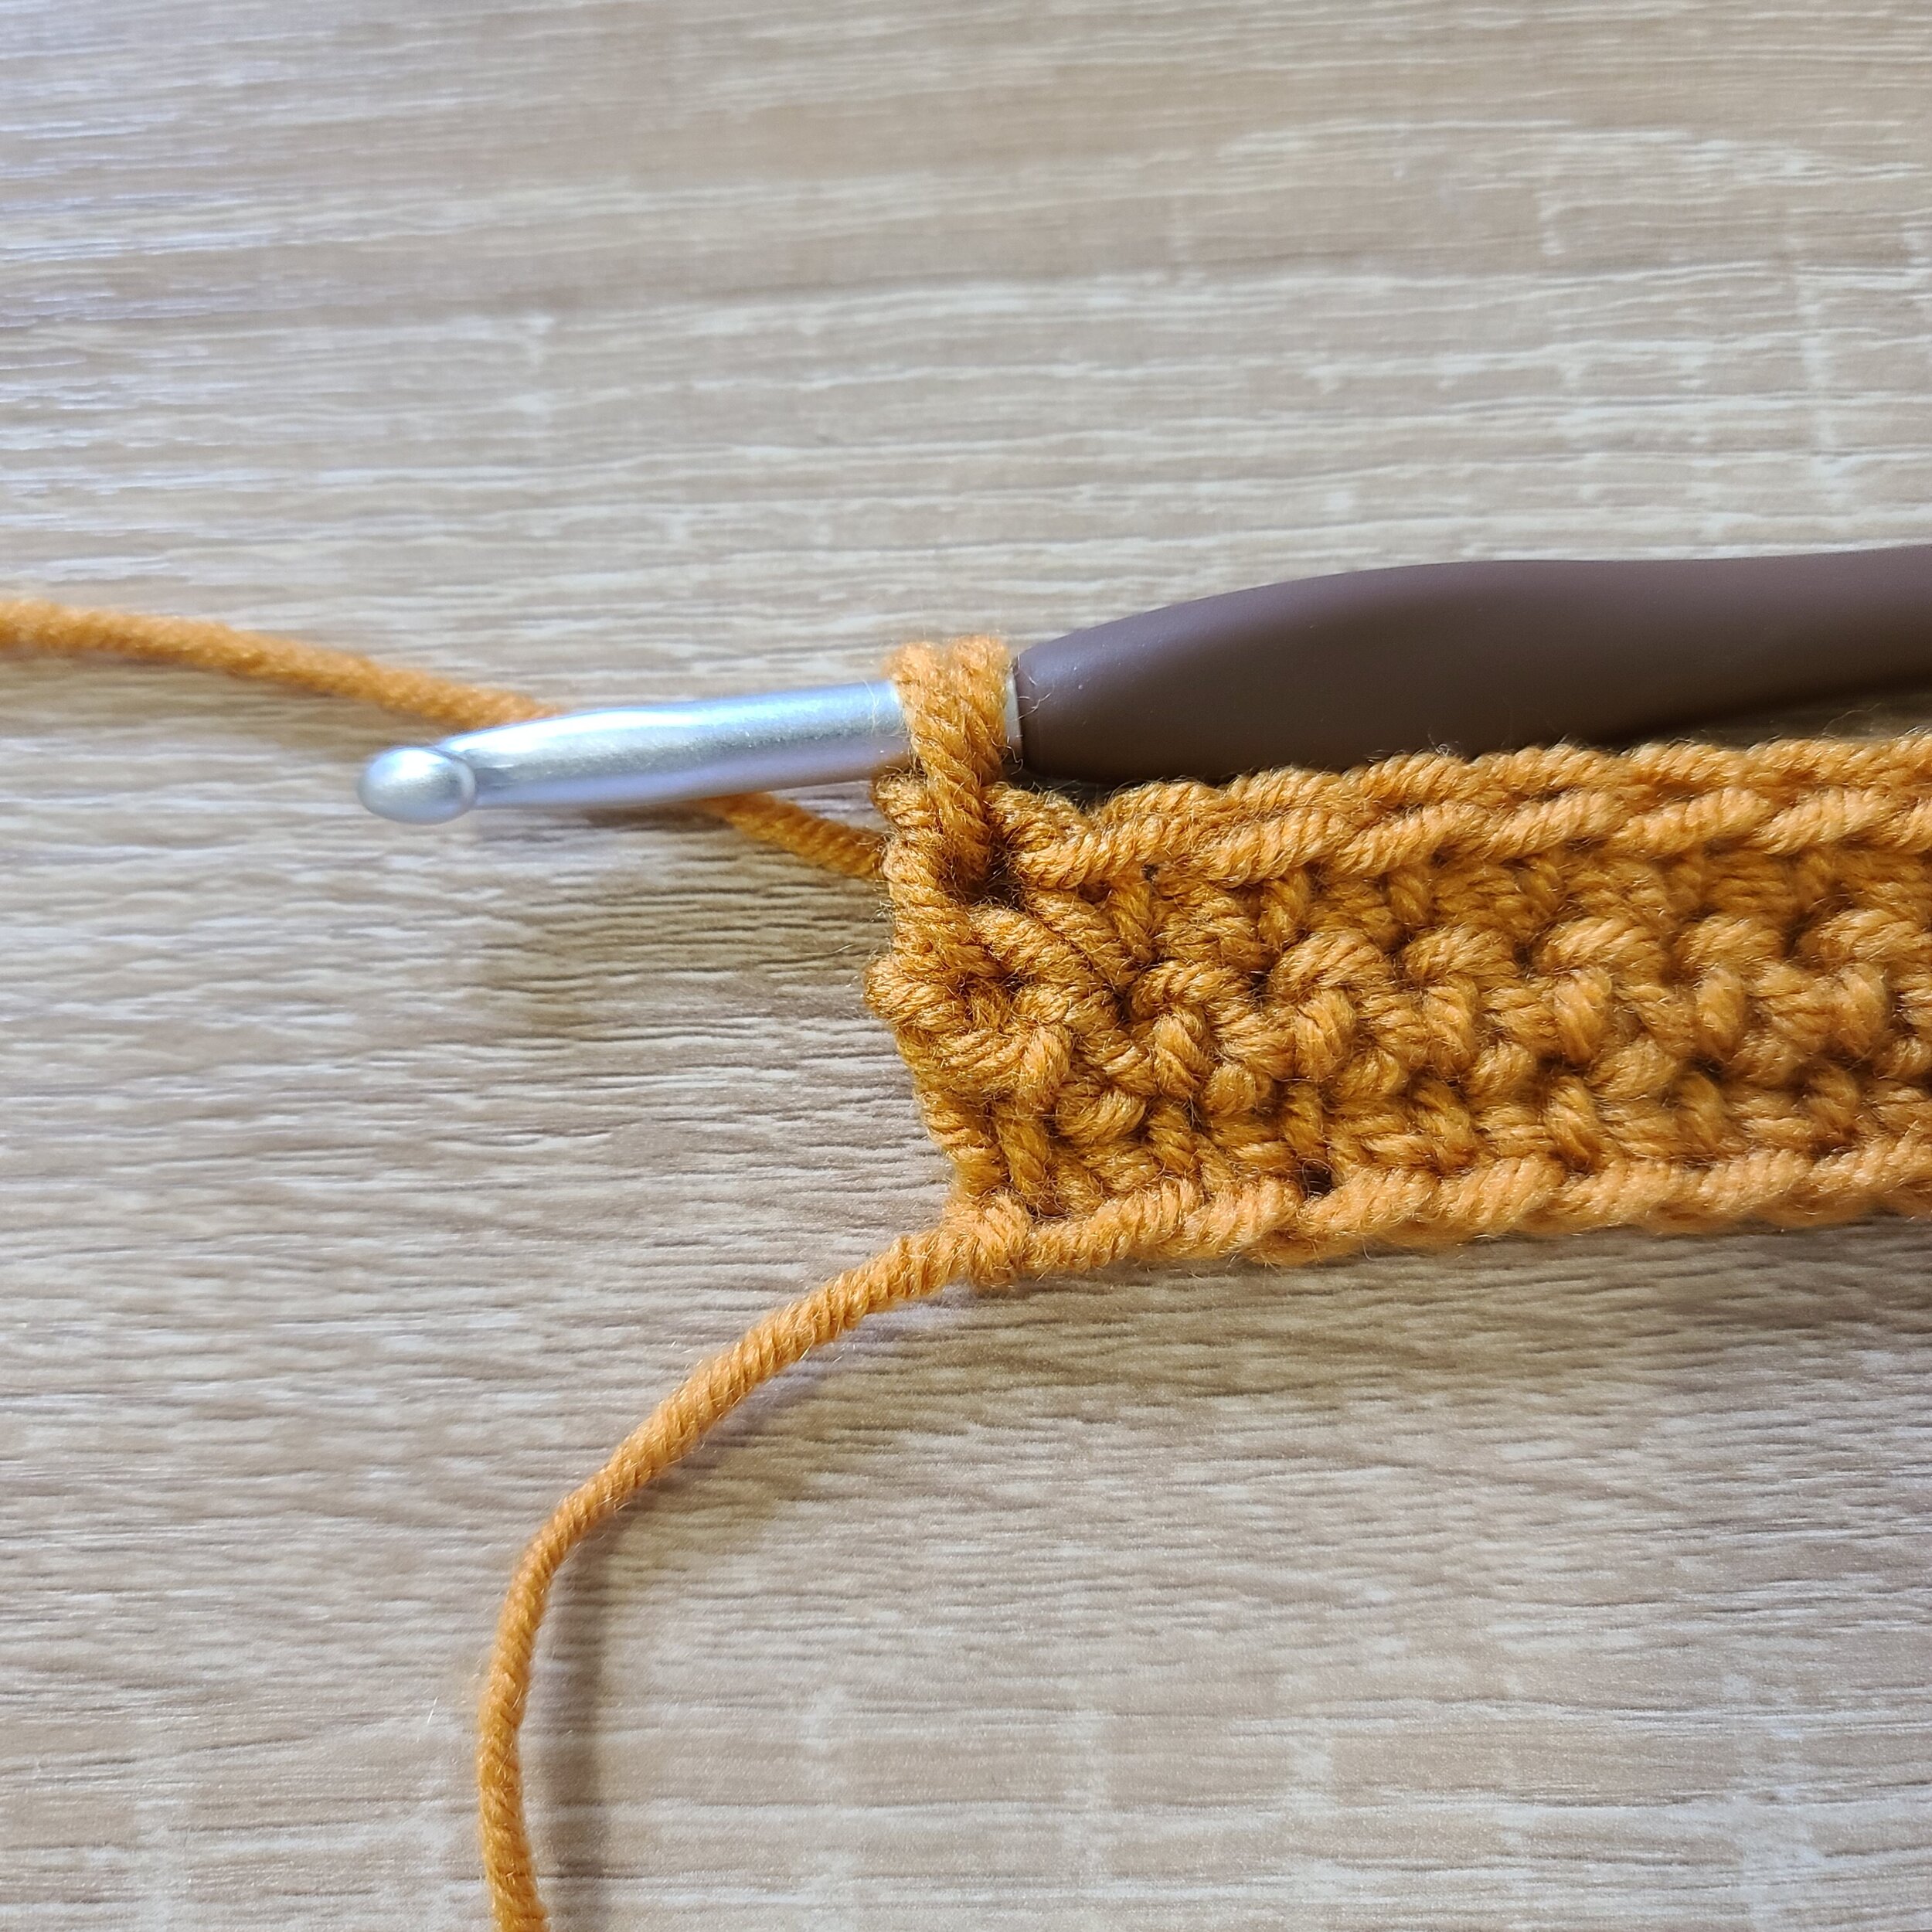
Next, wrap the yarn over your hook & pull through the two loops.


Next, insert your hook in the next stitch (working from left to right - so the second last stitch from the previous row) & repeat the process.
Yarn over, pull up a loop. Yarn over, pull through the two loops.
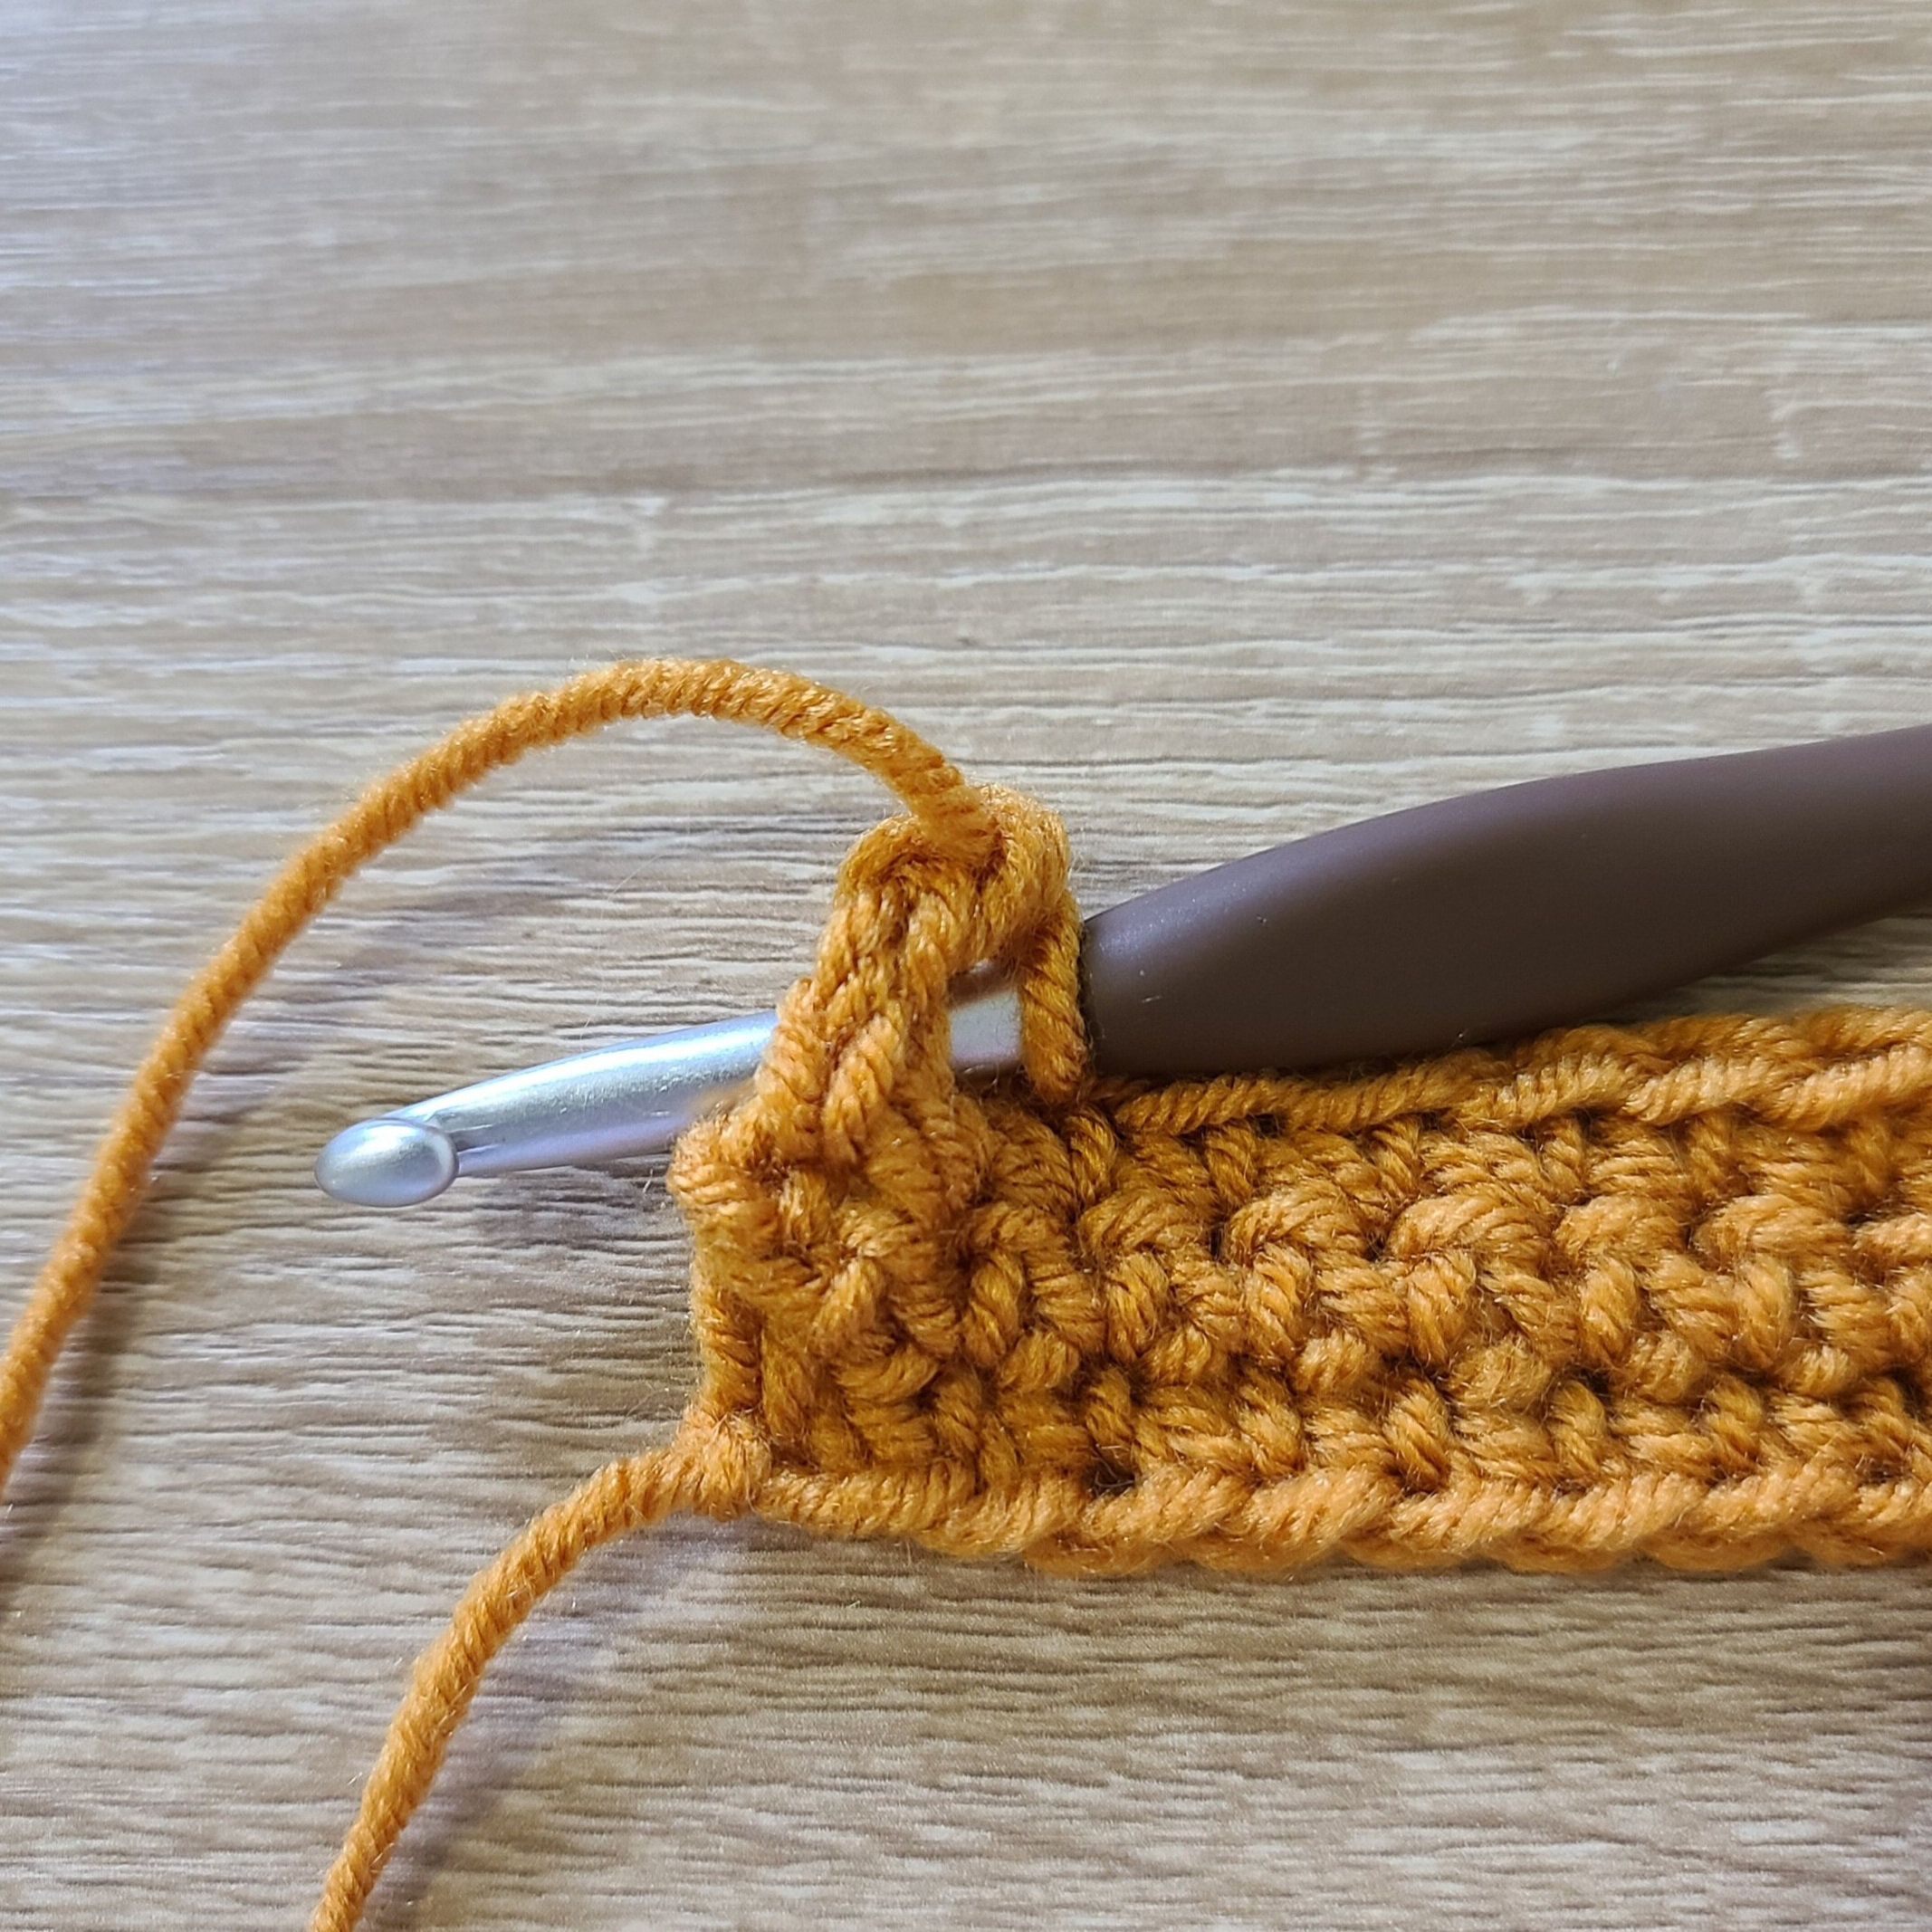
Continue working from left to right using this method - it can be a bit awkward to make this stitch at first. You won’t fully see the edging come together until you’ve made about four or five stitches using this method.